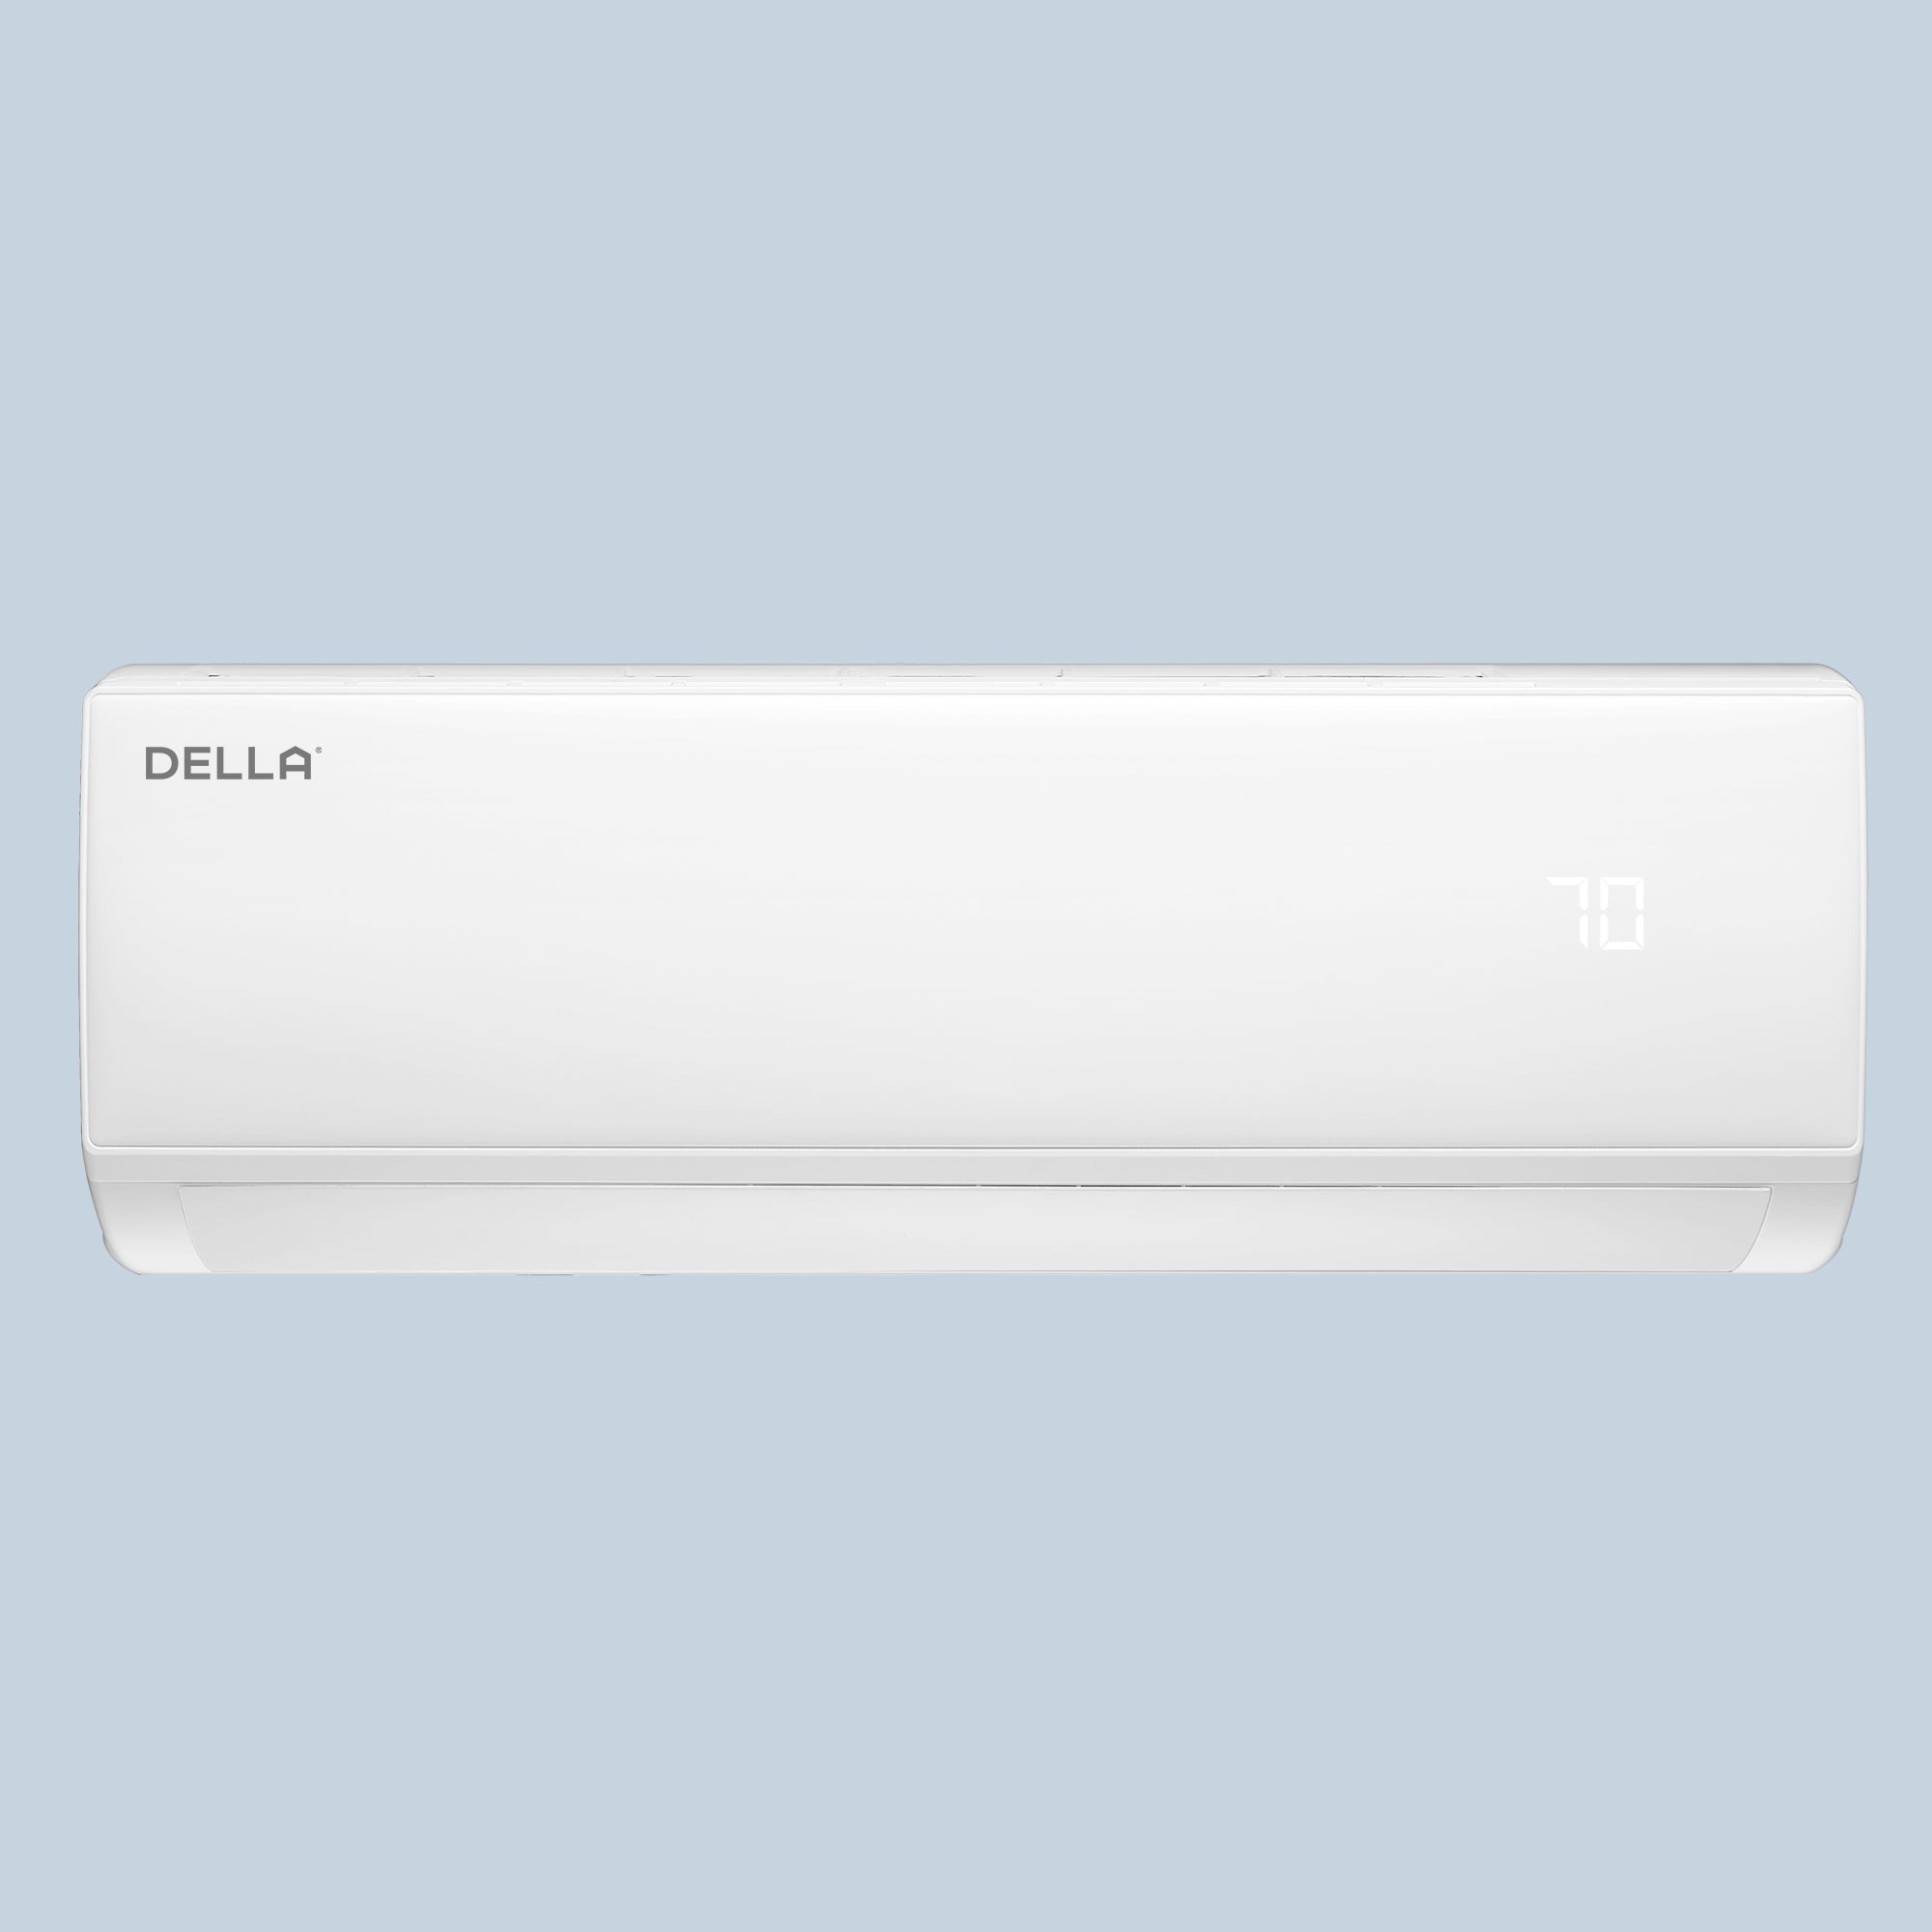
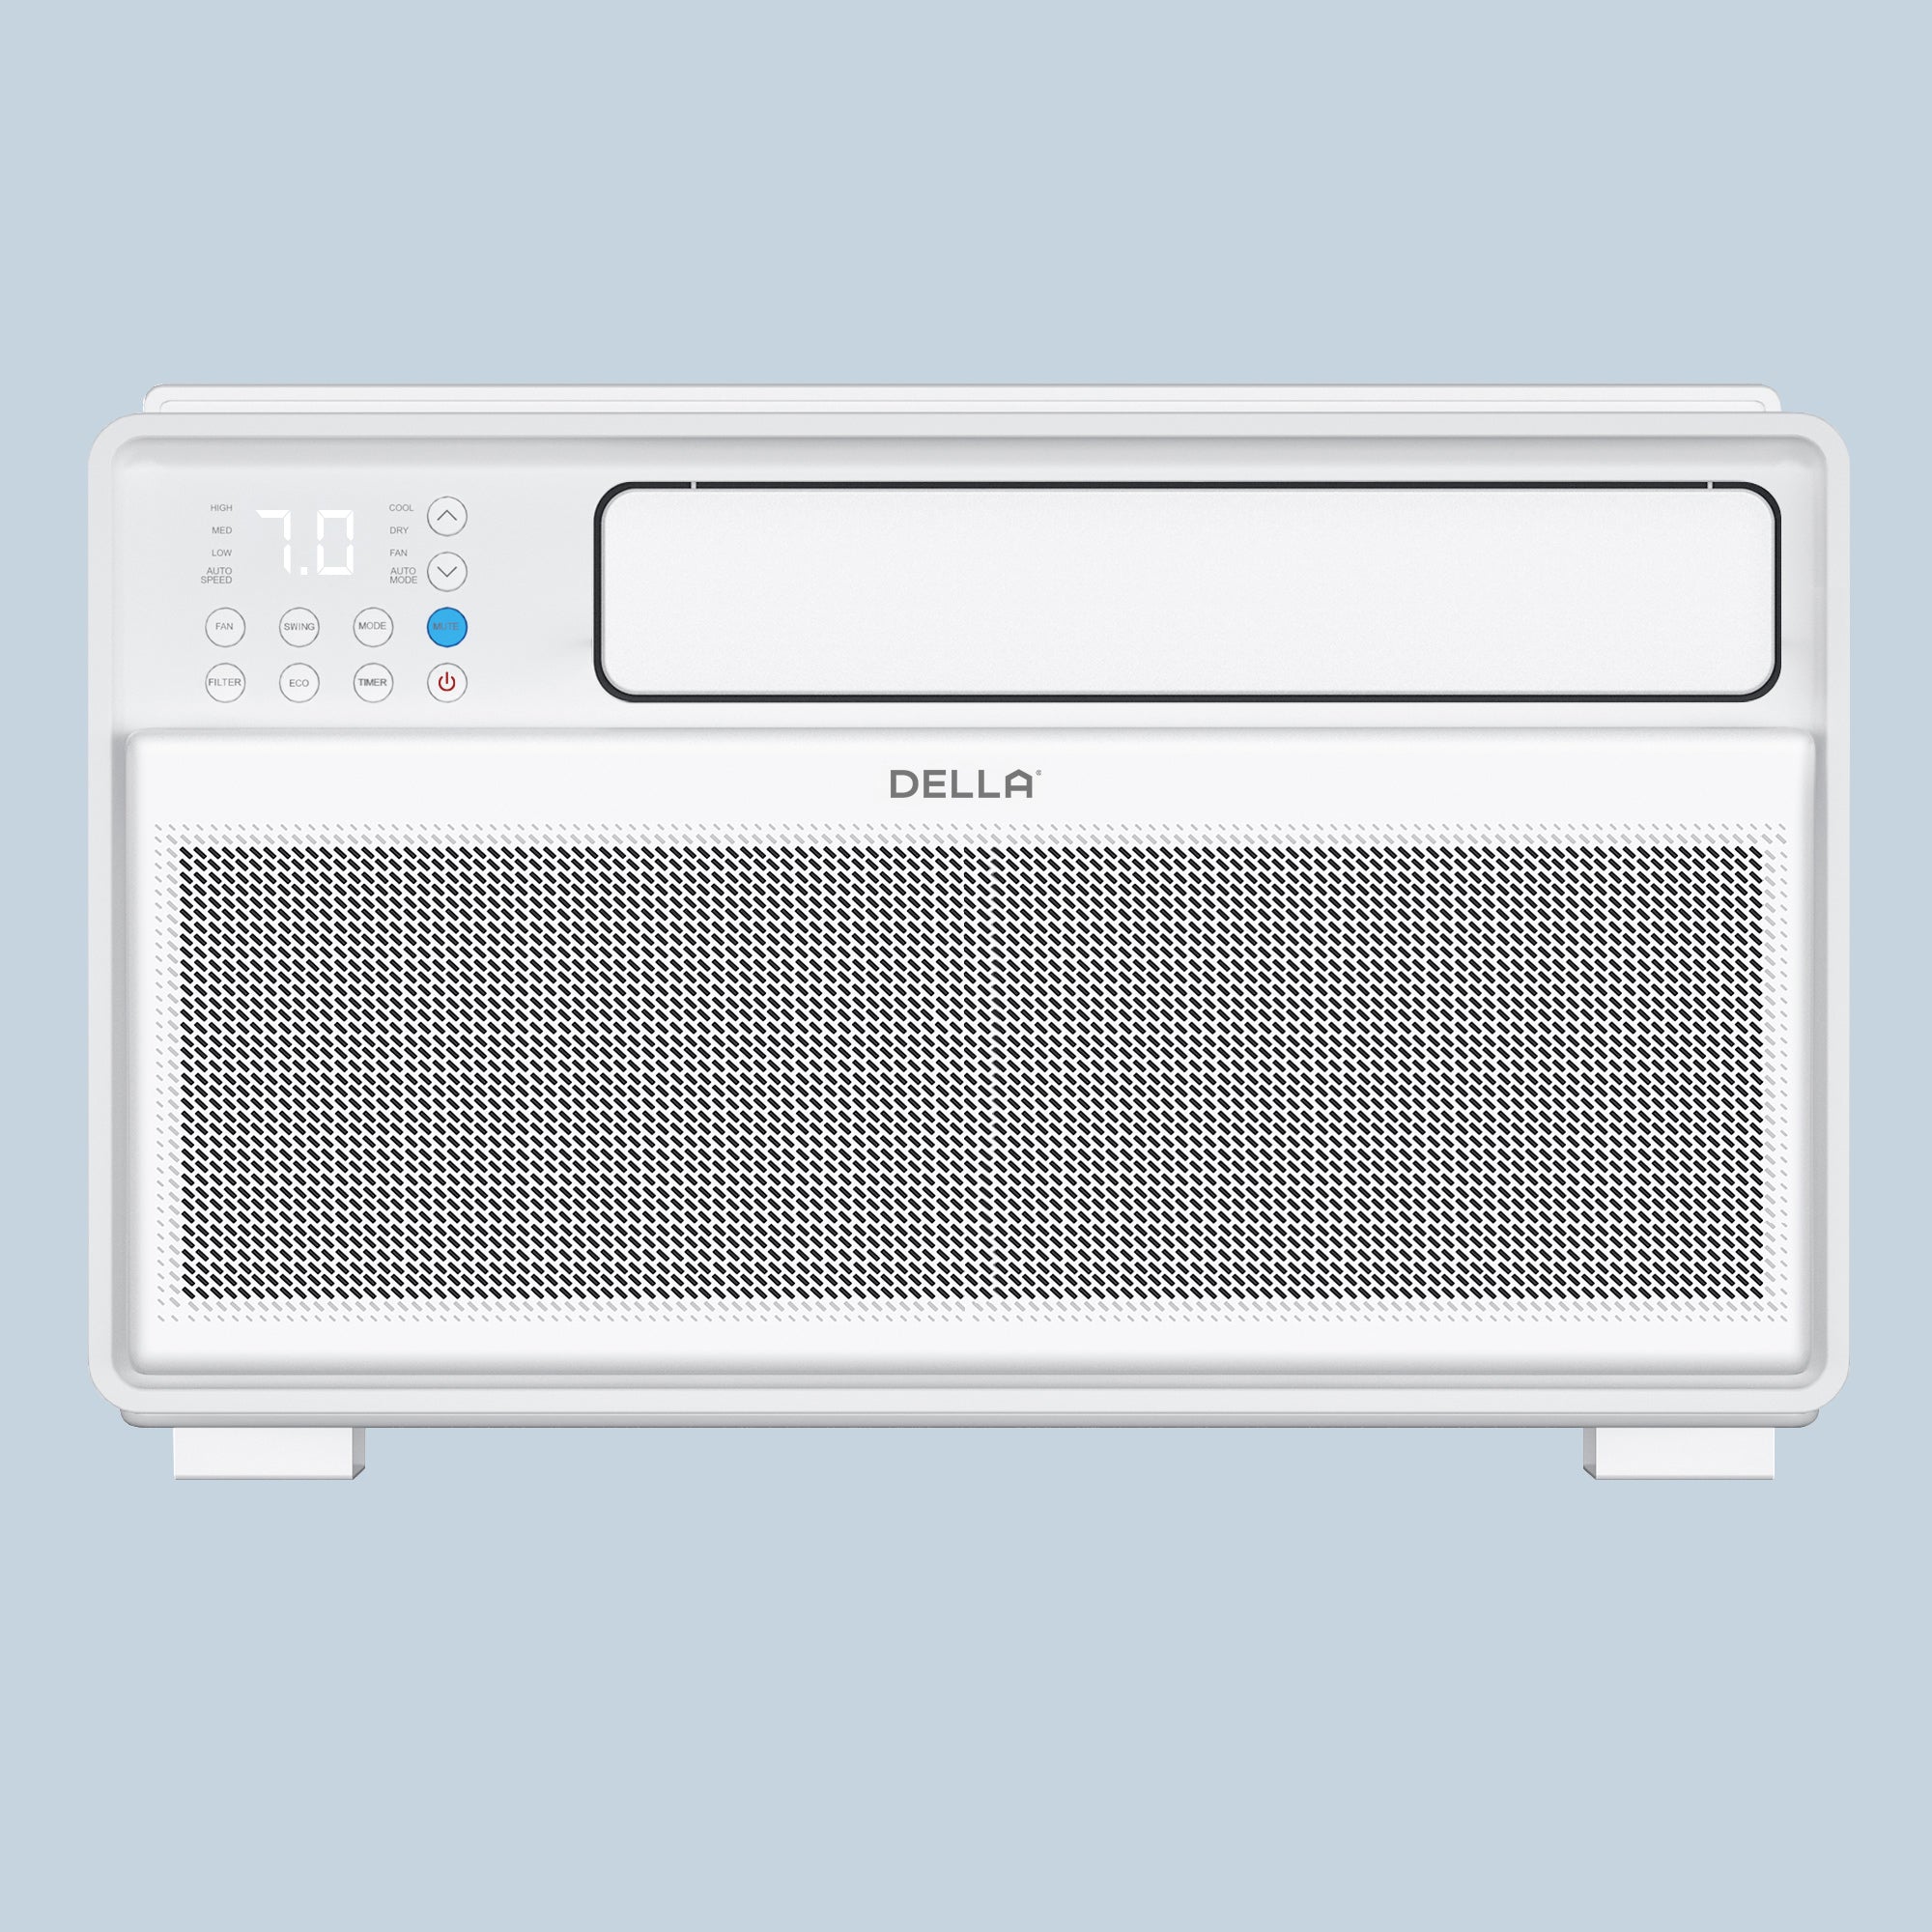
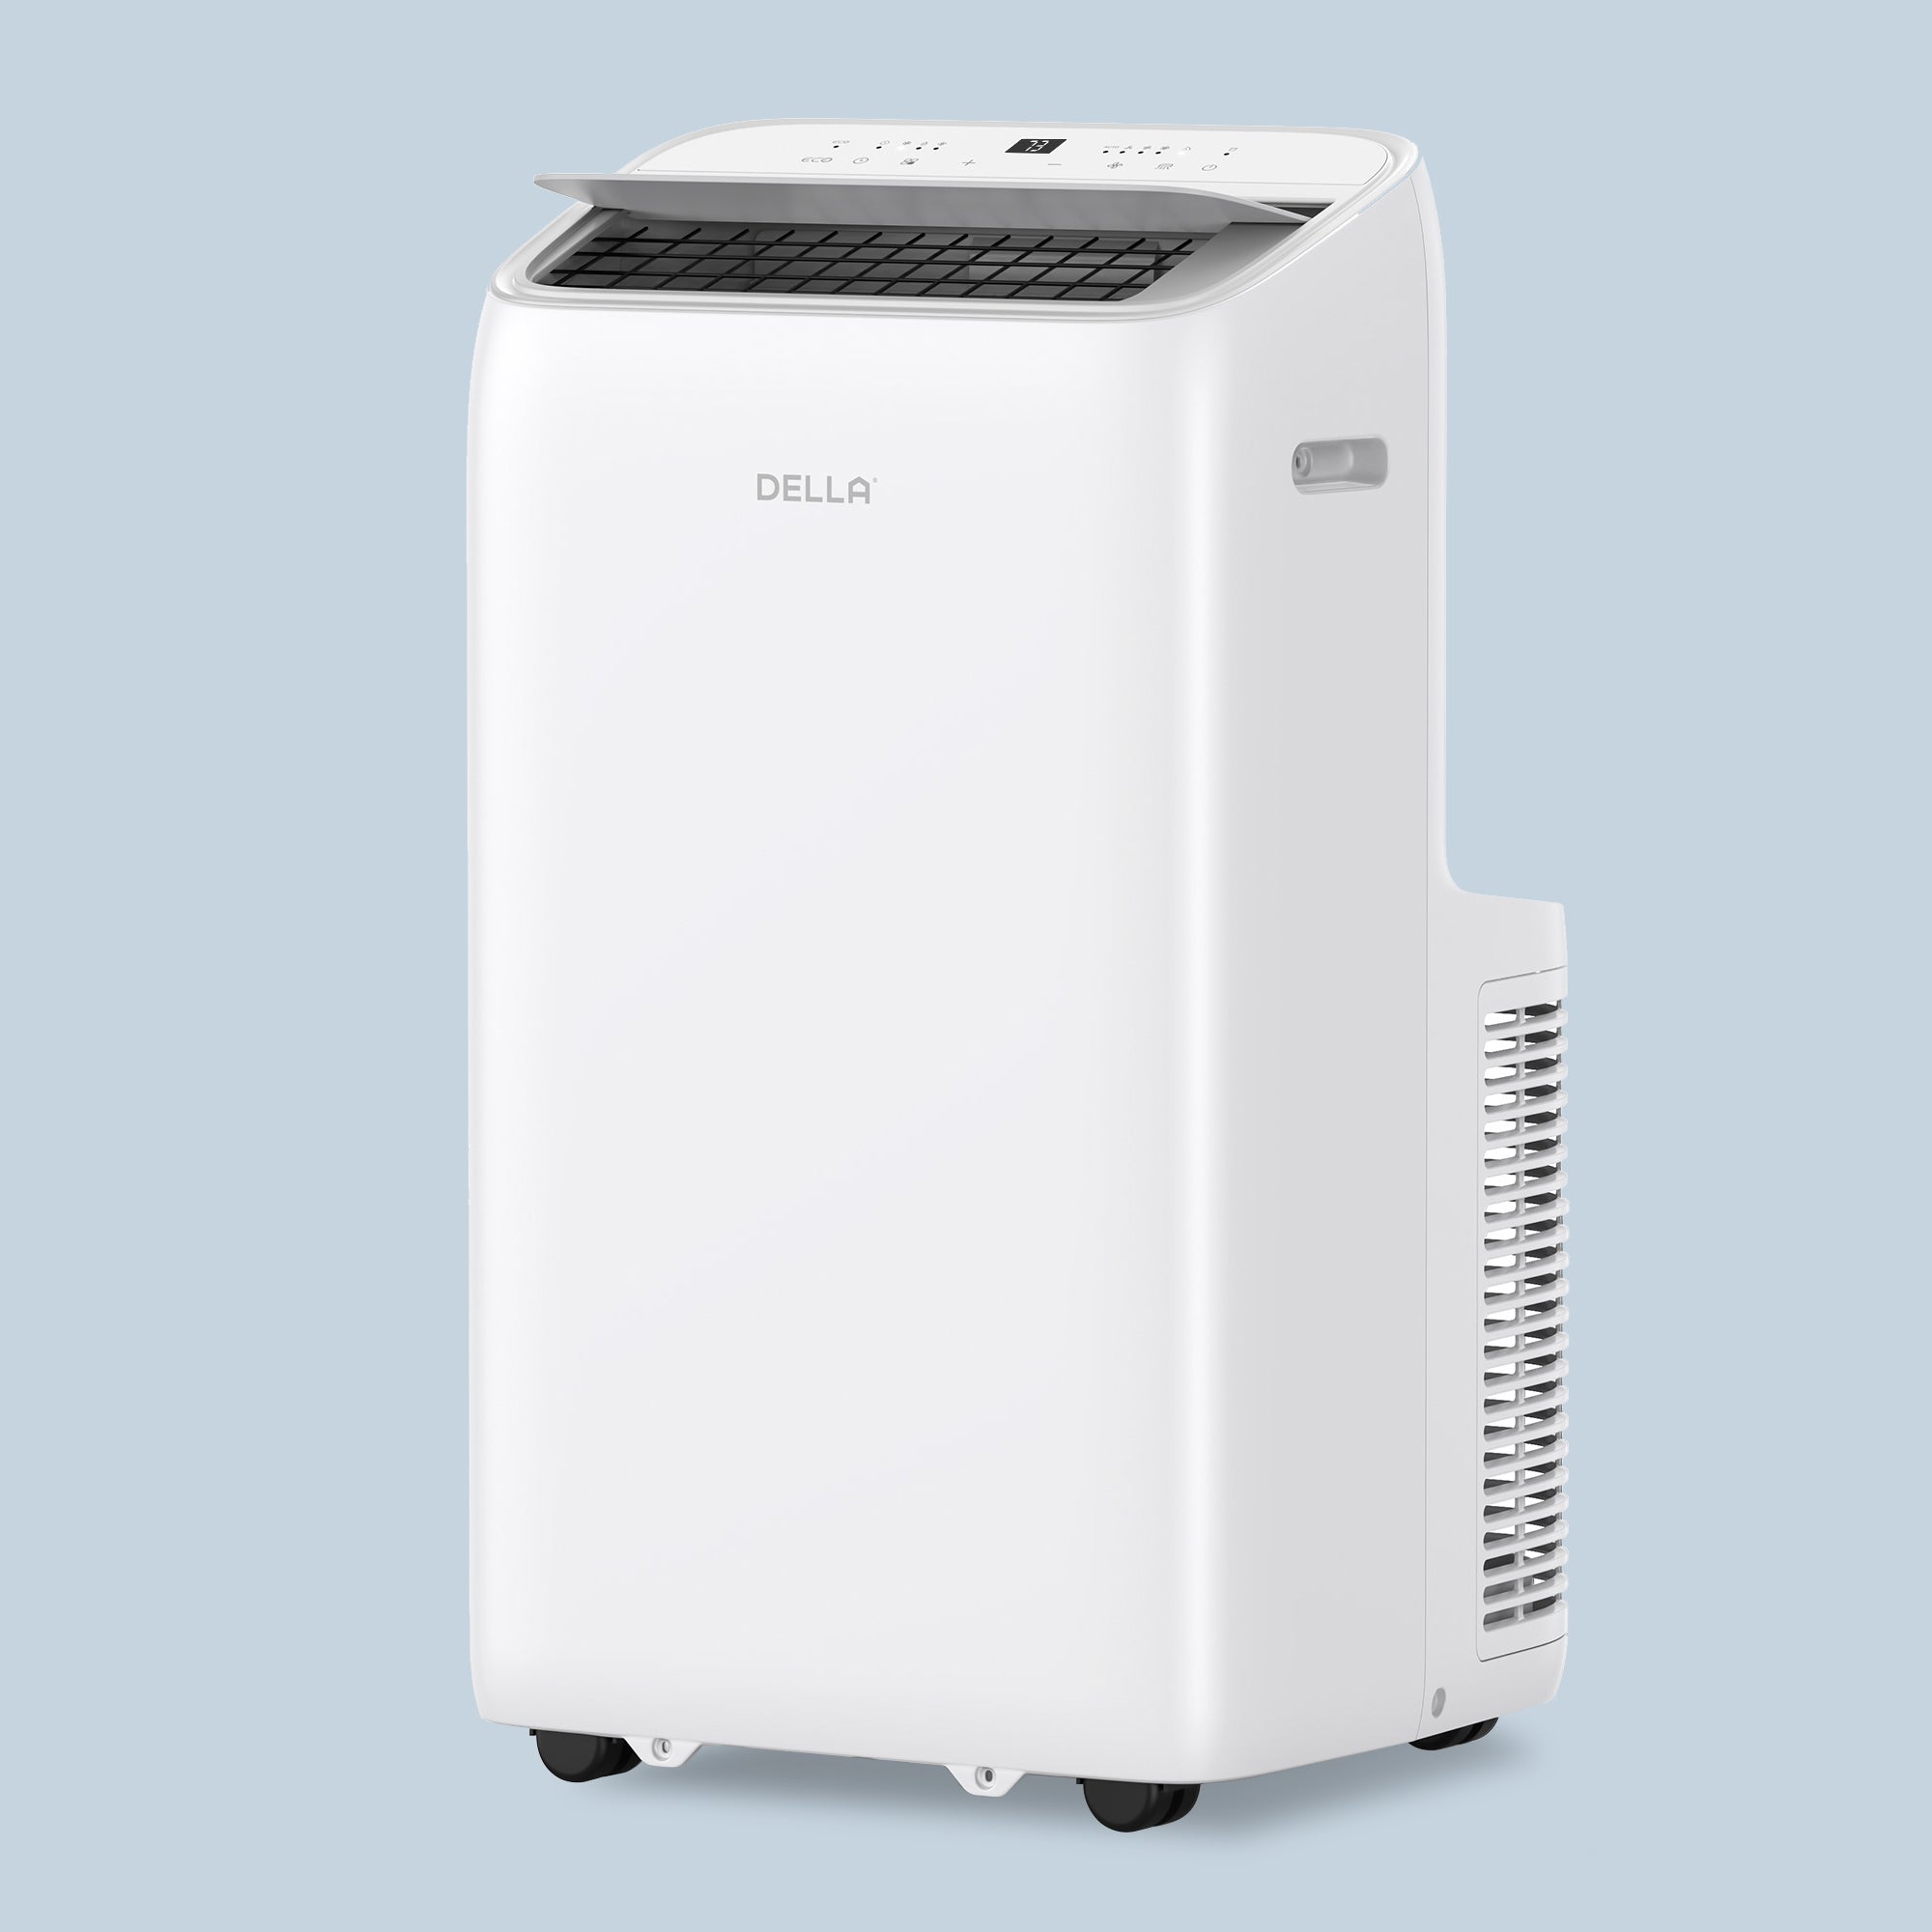
During the hot summer months, nothing is happier than staying in a cold room with a nice mini split air conditioner.
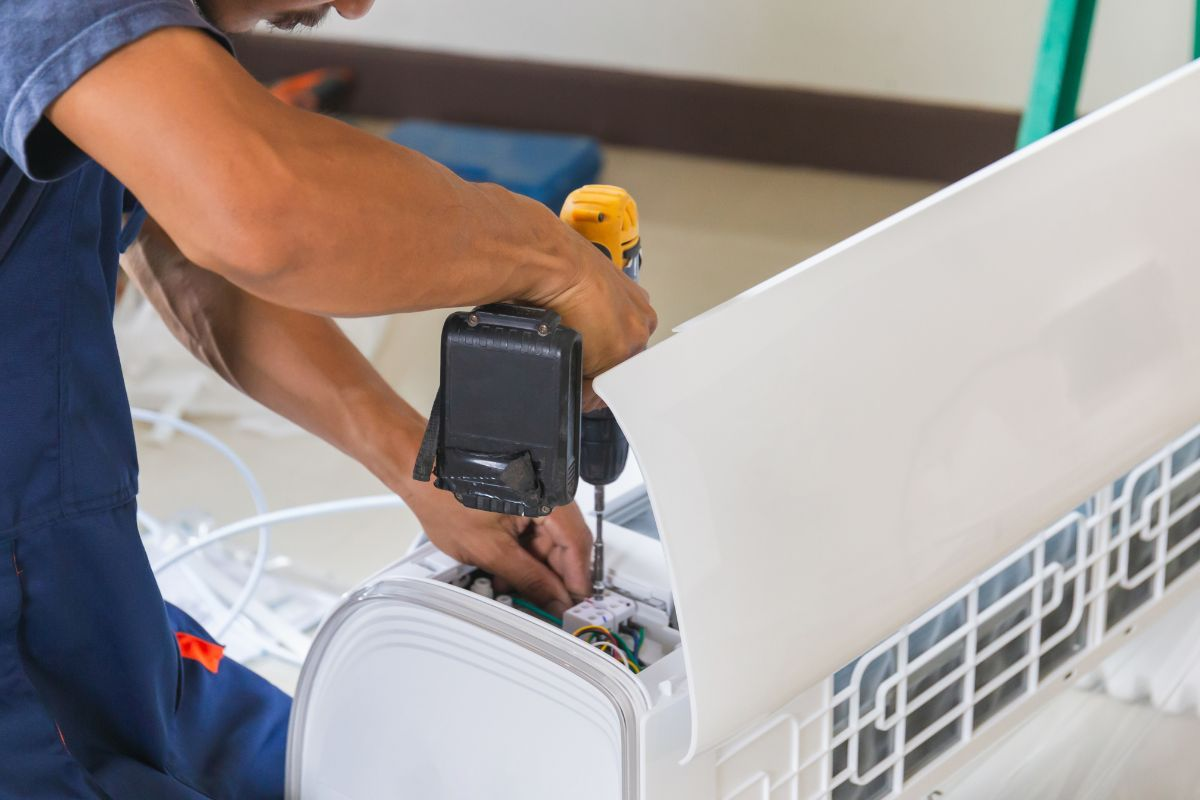
Nowadays, a mini split air conditioner would be a better choice for people rather an the traditional HVAC. Is the installation hard? Della will offer you some tips, and with just a little preparation and work, you can easily install a split air conditioner yourself and have a comfortable summer.
Prepare These Tools for Mini Split Air Conditioner Installation
A mini-split air conditioning installation system may be much easier than you think. You just need the five key tools for the entire process.
The installation requires five key tools:
-
Drill and Drill Bits
You need to create holes in the wall for the refrigerant lines and cables to pass through with the drill and drill bits.
-
Hole Saw
To ensure the refrigerant pipes and wires can pass smoothly, the hole saw can help to cut precise circular openings in the wall while maintaining integrity and aesthetics.
-
Tape Measure
Use a tape measure to accurately determine the best installation locations indoors and outdoors, such as the drilling position. Choose a position you like best, while also leaving space that is convenient for installation.
-
Torque Wrench
When connecting mini-split line sets, a torque wrench will be your good helper. It can help you know the tightness of the connection to meet the manufacturer's required torque, preventing refrigerant leaks.
-
Vacuum Pump
Before charging refrigerant in lines, use a vacuum pump to remove air and moisture from the lines. They may cause the air conditioner problems when running.
8 Steps to Install a Ductless Mini Split Air Conditioner
Della offers 8 essential steps to install a ductless mini split air conditioner. Here is a brief guide to help you understand the installation process:
-
Choose the Best Place to Install the Mini Split
Choosing the right location for your mini-split air conditioner is crucial for ensuring optimal performance, energy efficiency, and longevity.
For the indoor unit, mount it 7 to 8 feet high on a wall, ensuring nothing blocks the airflow within 3 feet. Avoid directing airflow at seating or sleeping areas, and steer clear of moisture-prone spots like above sinks.
For the outdoor unit, place it on a flat, stable surface in a shaded, well-ventilated area with at least 12 inches of clearance on all sides. Elevate it 4-6 inches to prevent flooding and debris buildup, and keep it 3 feet away from heat sources like dryer vents. Ensure the distance between indoor and outdoor units does not exceed 50 feet for optimal efficiency.
-
Install the Mounting Brackets
Secure the brackets using a bubble level to ensure perfect horizontality – even a slight tilt (about the thickness of a coin) can cause water leakage later.
For drywall, use included toggle bolts; for concrete walls, drill pilot holes with a masonry bit.
Outdoor unit brackets should include rubber anti-vibration pads (usually 1cm thick) to reduce operational noise.
Double-check stability by gently shaking the bracket – it shouldn’t wobble more than a smartphone vibrating on a table.

-
Drill a Hole for the Line Set
Drill a 3-inch diameter hole slightly angled downward (imagine spilling water from a bottle – this slope prevents rainwater entry).
Insert the included rubber grommet into the hole to protect wires and pipes from wall abrasion.
If drilling through brick, wrap masking tape around the drill bit at your desired depth (usually 6-8 inches) to avoid over-penetration.
-
Connect the Electrical and Line Sets
Thread the copper pipes, drainage hose, and cables through the wall hole.
When connecting refrigerant lines, listen for two distinct “clicks” when tightening with the provided torque wrench – this indicates proper sealing.
Match wire colors precisely (black to black, red to red), and wrap connections thoroughly with electrical tape. For extra safety, plug the power cord into a dedicated outlet – avoid sharing with appliances like microwaves.
-
Install the Drainage Hose
Attach the hose firmly to the indoor unit’s drain port, then route it downward (about 1 inch of slope per 3 feet) to a drain or outside.
Use a smartphone level app to check the angle. In cold climates, wrap the hose with $10 pipe insulation or install an anti-freeze heating cable to prevent winter ice blockages.
Secure the hose every 2 feet with plastic clamps to avoid sagging.
-
Vacuum the Refrigerant Lines
Connect the vacuum pump to the service port and run it until the gauge needle stays in the green zone for 15 minutes (this removes moisture and air). For a DIY leak test, apply soapy water to connections – if bubbles form, retighten the joints. This critical step ensures your AC cools efficiently and lasts longer.
-
Test the Unit
After powering on, wait 15 minutes for full operation.
Check that the temperature difference between the air vent and room is at least 15°F (8°C) – use a cooking thermometer if needed.
The noise level should be comparable to a quiet conversation (about 50 dB). Test all remote control functions, especially the “Dry” and “Turbo” modes.
-
Seal the Hole
Fill gaps around pipes with pliable sealing putty (better than spray foam for future maintenance).
For pest prevention, stuff stainless steel wool around pipes before sealing – rodents hate chewing through it.
Finish by applying exterior-grade silicone caulk outside, smoothing it with a wet finger for a weatherproof seal.
5 Safety Tips for Split Air Conditioner Installation
The steps to install a split air conditioner are not complicated, right? Even so, as an air conditioner manufacturer aiming for better life, Della hopes that every customer puts their personal safety be the priority and have a comfortable summer. These 5 safety tips you can not miss.
-
Don’t Turn on any Power
Find the circuit breaker box that controls the electricity supply in your home or building. This is usually located in a basement, garage, or utility room.
If unsure, you might consider turning off the main power breaker to ensure no electrical supply is active in the installation area.
-
Do not Use Inappropriate Tools
Equip yourself with the correct tools we mentioned before, including a torque wrench, vacuum pump, gauge set, and a proper drill for creating holes. These tools ensure precision and reduce the risk of damage or accidents.
In addition, don't forget the leak detector, multimeter, and PPE (Personal Protective Equipment). These tools are used to detect refrigerant leaks, check electrical connections, and protect against potential hazards.
-
Do not Install on an Unstable Wall
Verify that the wall is sturdy enough to support the weight of the indoor unit. Walls made of brick, concrete, or solid wood are typically good choices. For drywall or plaster, make sure to locate the studs for secure anchoring.
Also, use a level to ensure that the area where the mini split will be mounted on is even and flat.
-
Never Handle Refrigerant Carelessly
Ensure that anyone handling refrigerants is properly trained or has knowledge about it. If you need a professor for help, he should be certified according to local and international standards, such as the EPA 608 certification in the United States.
Use refrigerant-specific tools like gauges, hoses, and recovery units that are designed for the refrigerant used in your mini-split system. Following these guidelines helps prevent leaks and ensures safe handling.
-
Do not Allow Leaks or Faults
Make sure to invest in high-quality AC unit parts, such as durable mounting brackets, insulated copper tubing, and reliable electrical components. High-quality AC parts are less likely to fail and can better withstand the demands of the system.
When conducting leak testing, use a proper leak detector or a soapy water solution to test for leaks. Also, ensure that all electrical connections are tight and secure.
How Much Does It Cost to Install a New Mini Split AC?
The total cost to install a mini-split system ranges from $2,500 to $15,000+, depending on BTU capacity and installation complexity.
For single-zone systems, a basic 9,000 BTU unit (cooling 300-450 sq.ft.) typically costs $2,500 to $3,800 installed, while a 12,000 BTU mini split model (500-650 sq.ft.) averages $3,200 to $4,500.
Mid-capacity 18,000 to 24,000 BTU mini split systems (700-1,200 sq.ft.) range between $4,000 to $7,000, with prices rising for multi-head mini-split configurations or advanced features like smart controls.
Larger whole-home systems (36,000-60,000 BTU) covering 1,500-3,000 sq.ft. cost $8,000 to $15,000+, particularly if requiring electrical upgrades, extended line sets (>50 ft), or attic/crawlspace work.
Labor accounts for 30-50% of total costs, including mounting, refrigerant line installation, and electrical connections. Additional fees may apply for permits ($100 to $500), ductwork modifications (¥800 to $2,500), or heat pump models (+10-20% cost).

DIY Installation or a Professional?
Having read this far, we are sure you have some idea of how to install a mini-split air conditioner. From there, you can make a decision about whether to do it yourself or hire a professional.
Hiring a professional is also a good choice ensures the entire installation is efficient, safe, and compliant with local building codes.
If you have strong technical skills, particularly in HVAC and electrical systems, and feel comfortable following our detailed installation guides and safety tips. DIY approach could lead to substantial savings on high labor costs.
Della offers a full set of mini split air conditioner installation kit for you, just need $100 and you can install your mini split perfectly.

How to Choose the Best Ductless Mini Split for Your Home?
-
Determine the Right Capacity (BTU)
Sizing your mini split AC correctly helps save money and extend your AC unit's life.
Start by measuring the square footage of the space you need to cool and consider your local climate. A general rule is 20-25 BTU per square foot, but in hot and humid regions (e.g., Florida), increase this by 10-15%. And adjust for room specifics: add 10% for sunlit rooms, 15% for bad heat insulation room, 15% for kitchens (due to heat-generating appliances), and 5% for each additional foot of ceiling height beyond 8 feet.
-
Focus on Energy Efficiency (SEER) and Heating Performance (HSPF)
Choose a mini split unit with a SEER (Seasonal Energy Efficiency Ratio) rating of at least 16, with premium models reaching 30+ SEER for up to 40% long-term energy savings.
For heating, look for HSPF (Heating Seasonal Performance Factor) ratings above 10.
-
Decide Between Single-Zone and Multi-Zone Systems
Single-zone mini split systems (one indoor unit) are ideal for individual room upgrades, costing around $3,000 to $5,000 installed.
Multi-head mini split systems (one outdoor unit supporting multiple indoor units) are better for whole-home coverage and save more compared with installing a mini split AC for each room.
-
Prioritize Smart Features
Modern high-end models offer WiFi controls (via smartphone apps) like Della's mini splits units, compatibility with voice assistants (Alexa/Google Home), and motion sensors for automatic temperature adjustment.
-
Choose a Quite Unit
For bedrooms or quiet spaces, choose units with noise levels ≤35 dB (comparable to rustling leaves). Della's Optima series, for example, features a "Quiet Mode" and runs at 27 dB for near-silent operation.
In Conclusion
We hope this mini split air conditioner installation guide helps you create a cooler, more comfortable home this summer.
At Della, we’re committed to delivering high-quality air conditioners sale that combine advanced features, sleek designs, and unmatched energy efficiency.
Whether you’re upgrading to a single-zone mini split system or a whole-home multi-zone solution, our mini splits are engineered to provide reliable performance and long-term savings.
FAQ
-
Is It Necessary to Drill Holes in the Wall to Install a Mini-Split Heat Pump?
Yes, drilling holes in the wall is a necessary part of installing a mini split heat pump. This is required to connect the indoor and outdoor units through mini-split line sets, electrical cables, and drainage tubing. Typically, a single hole of about 2 to 3 inches in diameter is sufficient, drilled through an exterior wall where the indoor unit is mounted.
-
What are the Advantages of a Mini Split Air Conditioner?
Because the mini split air conditioner offers versatility and economy. It meets the modern family's need for a comfortable life. For example, it can cool and heat homes with great precision, and provide a quiet life. In terms of installation, it doesn't need complicated duct work and everybody can handle it easily.
-
Is there the best temperature for my mini split air conditioner to keep at?
Actually, there is no fixed best temperature. However, Della recommends setting the temperature to either 26 degrees Celsius or 28 degrees Celsius. The 26 degrees strike a balance between comfort and efficiency, while the 28 degrees can help you save energy further and extend your split AC life.
Read More:
How Does a Mini Split Air Conditioner Work?
What Size of Mini Split is Right for Your Garage?
Pros and Cons of Ductless Mini Splits: Are They Worth It?
6 Best Ductless Mini Splits: 2024 Buyer's Guide
Mini Splits vs. Heat Pump: Which Is the Best Choice for Your Home?


LEAVE A COMMENT
All comments are moderated before being published.
This site is protected by hCaptcha and the hCaptcha Privacy Policy and Terms of Service apply.