Mini split conditioners are becoming popular. The ACs are compact and energy efficient. This is why installing a mini split can help you save money. You will have more control over placement. Installing a mini split HVAC is easy if you know the procedure. Let’s find out how to install a mini split.
The Benefits of DIY Mini Split Installation
Installing a mini split yourself has several advantages.
First and foremost, you save money. Hiring a professional technician can cost hundreds of dollars. But when you do it yourself, you only spend on the system and the necessary tools.
DIY allows you to control the placement of the units. You can choose the right locations that maximize airflow and efficiency. So that every corner of your room has adequate cooling. You can place the indoor unit away from sunlight.
Additionally, installing your mini split ac yourself can be time-efficient. There is no need to wait for a professional. You can complete the installation at your own pace.
What Tools Will You Need for Mini Split Installation?
Before you start, gather all necessary tools. The right tools facilitate the installation process. Here is a detailed list of what you will need:
- Drill and drill bits
- Level
- Wrenches
- Screwdrivers
- Pipe cutter
- Flare tool
- Vacuum pump
- Tape measure and marker
- Safety gear

How to Install a Mini Split Step-by-Step?
Before installing a mini split requires careful planning is required. Here’s a detailed step-by-step guide:
Step 1: Choose the Location
First, choose the best location. The indoor unit should not be in direct sunlight. Ensure you have ample airflow. Moreover, you have simple maintenance whenever it needs to be cleaned. Outdoor unit: stable, horizontal resting platform.
Step 2: Mount the Indoor Unit
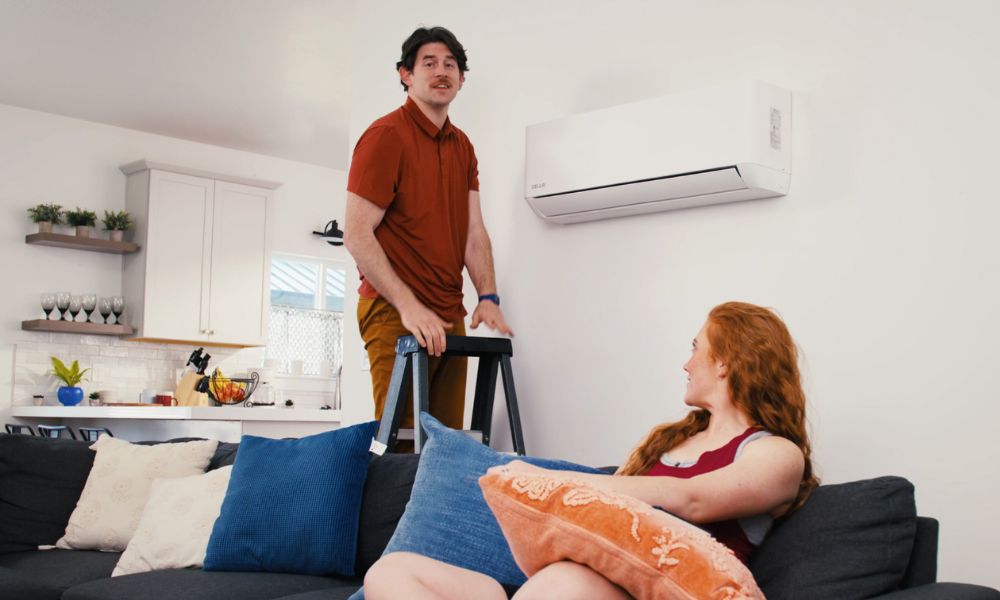
These are the steps for mounting the plate on a wall
It’s necessary to use a level to make sure it is perfectly horizontal.
Make a hole in the wall to the exterior. It's for the refrigerant lines, drain pipe, and wiring.
It should slant slightly downward on the outside of where the hole is made.
Step 3: Prepare the Lines
Next, trim the copper refrigerant lines to size. You can use a pipe cutter.
You have to use a flaring tool to prepare the ends. Install insulation to control condensation and reduce heat loss. Trim the drain line to size. Make sure it angles down to the outside.
Step 4: Connect Indoor Unit
Reconnect the refrigerant lines, drain pipe, and electrical wiring.
Tighten all connections carefully to avoid leakages.
Make sure the drain line is in punch and not twisted.
Step 5: Fix the outdoor unit on the wall
Now, set the outdoor unit on a level surface
Do not place it too close to the walls
Avoid areas prone to flooding or heavy debris.
Step 6: Reattach Refrigerant Lines, Wiring
Feed the copper lines and wiring through the hole in the wall to the outside unit.
Connect the lines according to the manufacturer's recommendation.
Tighten all fittings carefully
Step 7: Vacuum the Lines
Attach a vacuum pump to evacuate any air and moisture. The compressor can be damaged and will not operate efficiently if air or water is trapped.
Step 8: Test the System
Turn on the mini split and check its performance. The indoor unit should blow cool air, and he outdoor unit should run quietly.
Best DIY Mini Split Systems for Easy Installation
Choosing a mini split system that is designed for easy installation can make a huge difference. Here are three DELLA options suited for DIY users:
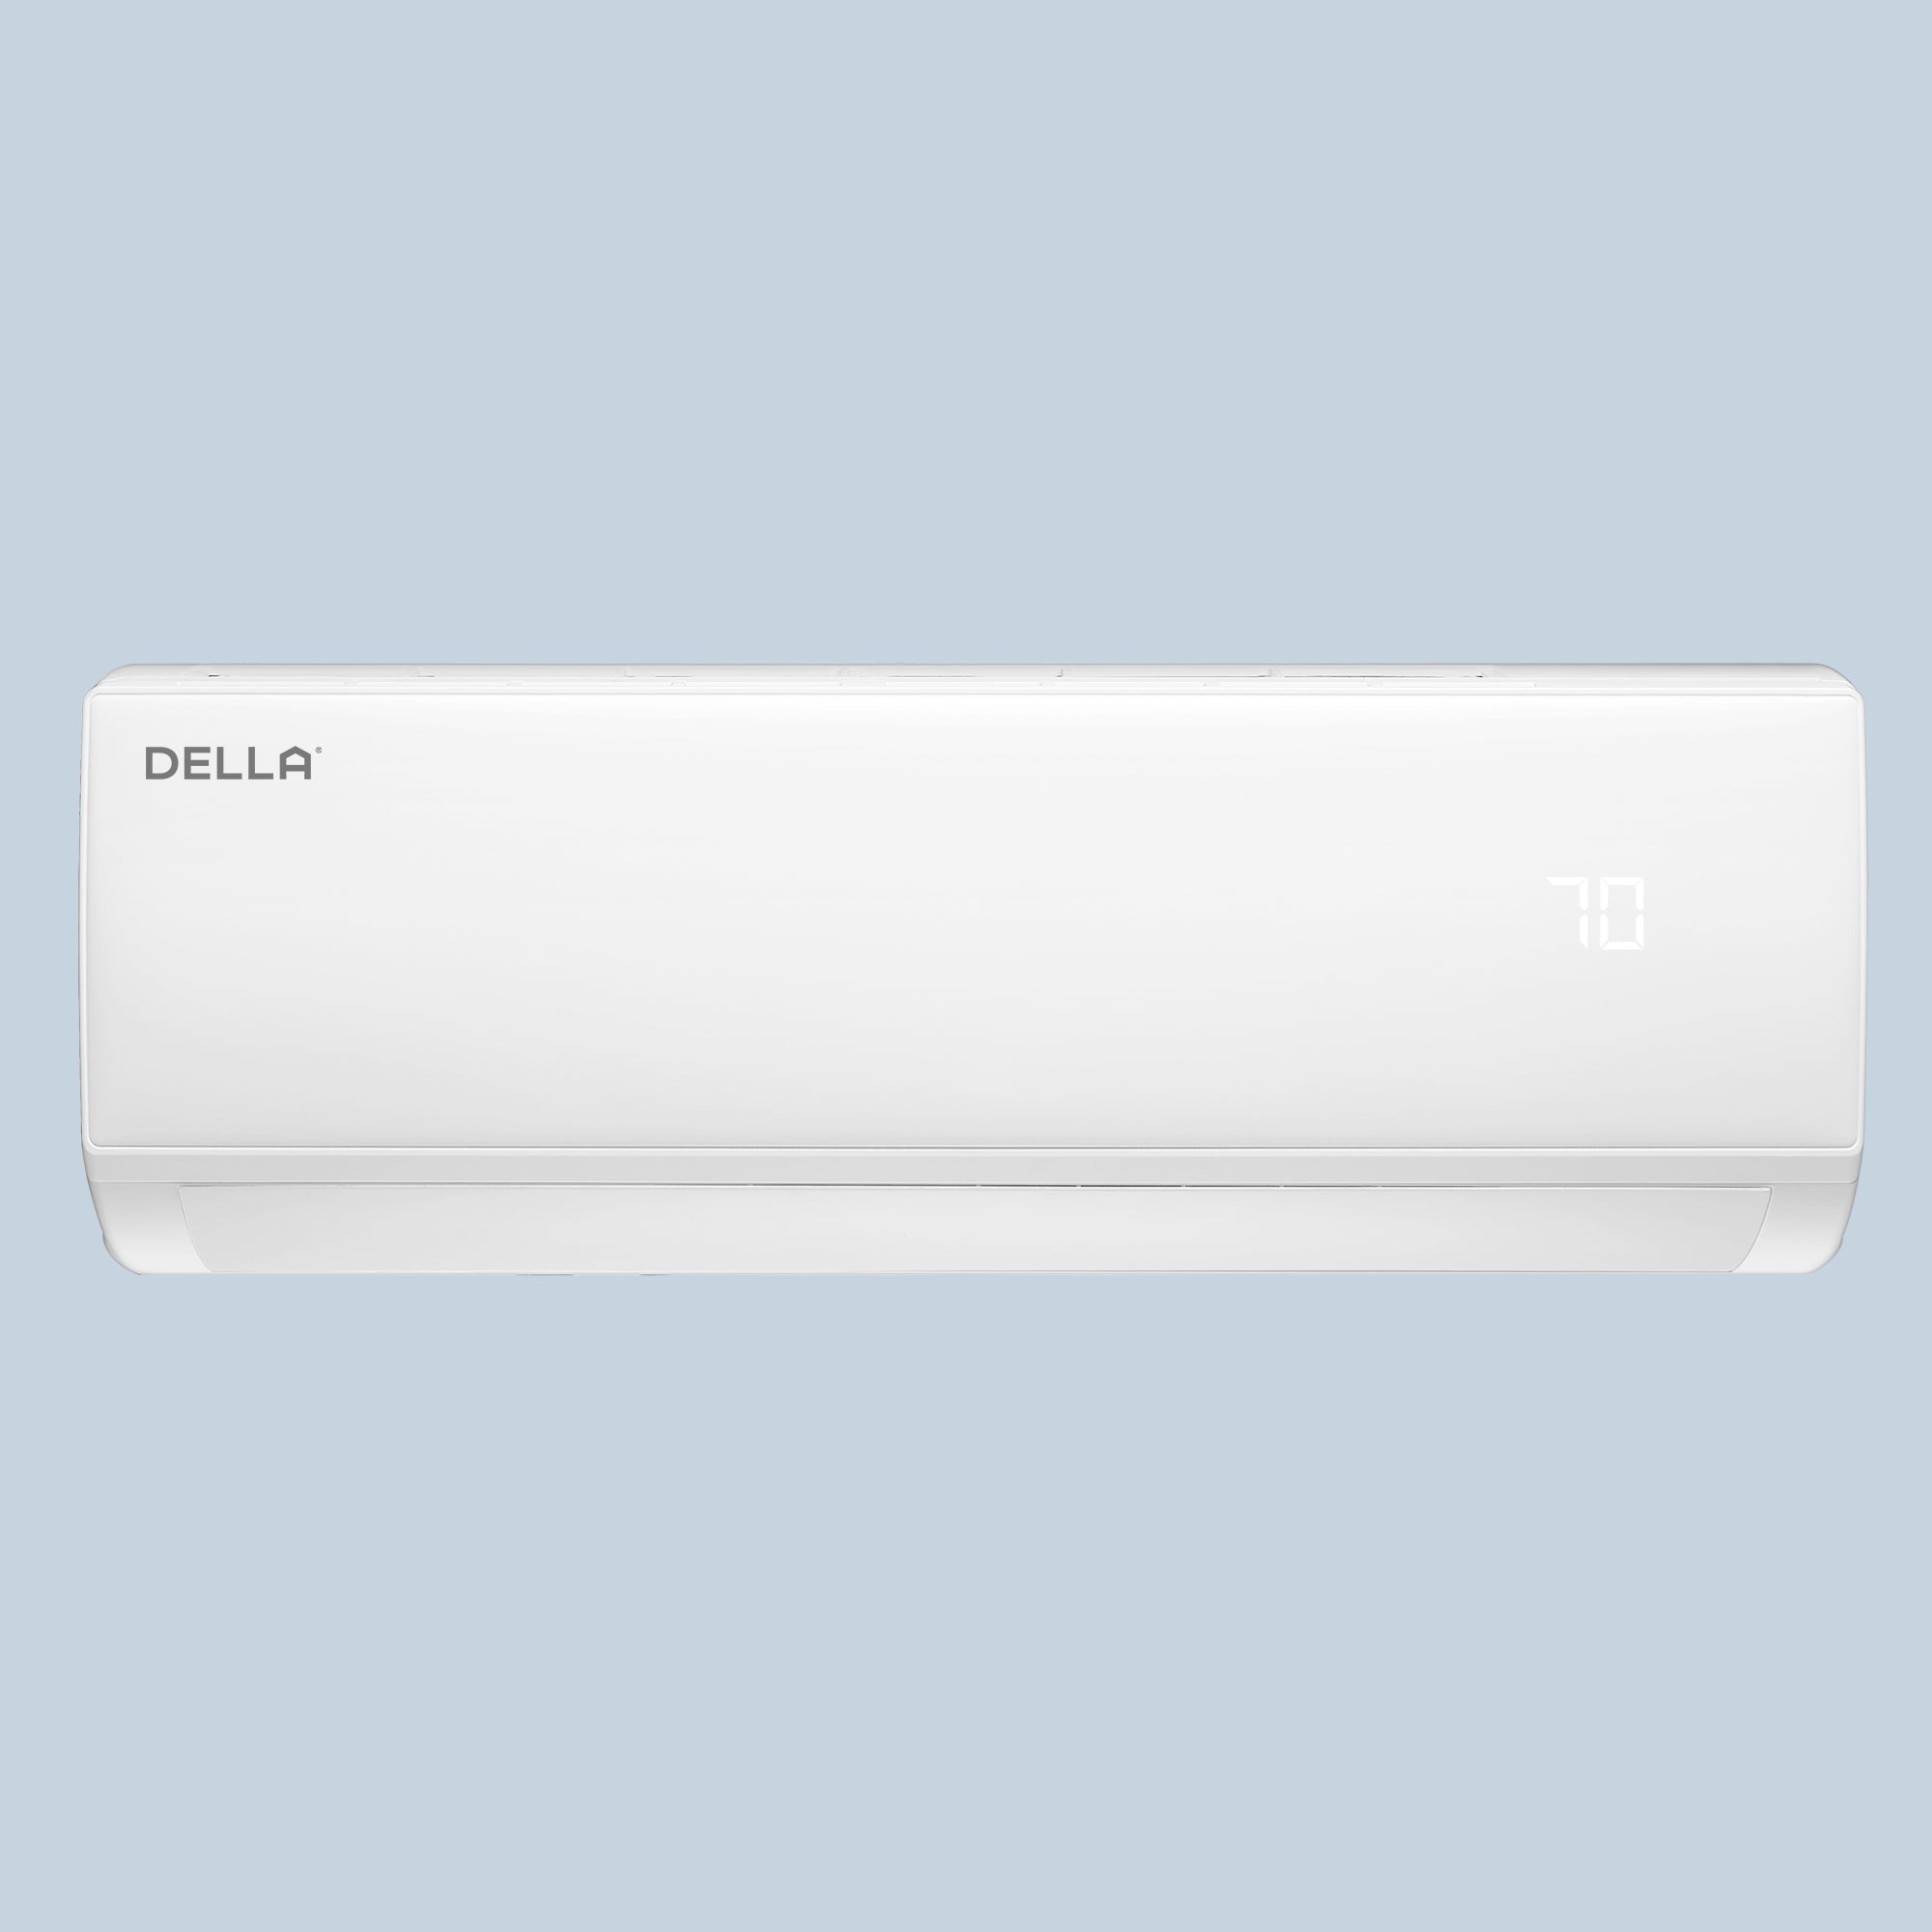
DELLA Econo Series Mini Split AC
The Econo Series mini split AC is perfect for DIY beginners. Its compact indoor unit is easy to handle, while the straightforward design simplifies the connection process, making it a beginner-friendly choice for small to medium rooms.
Why It's Great for DIY:
- Lightweight Design: Compact and sleek indoor unit for easy wall mounting.
- All-in-One Kit: Often includes a pre-charged line set and installation kit to reduce complexity.
- Quiet & Efficient: Inverter technology ensures quiet operation, so you can be confident in your setup.
- Simple Remote Control: Easy to test and operate once installation is complete.
DELLA Motto Series Mini Split AC
The Motto Series mini split AC is a great step up for DIYers tackling larger spaces. Its space-saving design is easy to handle and mount, while the powerful heating and cooling capacity ensure your hard work pays off with total room comfort.
Why It's Great for DIY:
- Easy-to-Place Design: The sleek indoor unit looks great in any room, making placement simple and satisfying.
- Smart App Control: Use the DELLA app to easily test and configure your system right after installation.
- Easy DIY for Big Performance: Powerful cooling and heating capacity ensure your project successfully manages the climate in larger rooms.
- Year-Round Comfort: The built-in heat pump means your one DIY project provides both cooling and heating.
DELLA Umbra Series Mini Split AC
The Umbra Series mini split AC is for the DIYer who wants high-end results. It combines powerful performance and advanced smart features with a hassle-free installation process, perfect for homeowners who want precise control without compromising on convenience.
Why It's Great for DIY:
- Complete Installation Kit: Comes with the necessary components, helping you get started on your project right away.
- Wi-Fi Smart Control: Advanced Wi-Fi compatibility allows for easy setup, scheduling, and operation from your phone.
- High-Performance Inverter: The powerful compressor delivers fast cooling, so you can feel the successful results of your installation immediately.
- Easy DIY for Fresh Air: Its advanced air filtration technology allows you to easily improve your home's air quality with a simple DIY installation.
Mistakes to Avoid When Installing a Mini Split
Beginners may find it hard to install it. Avoid these common pitfalls:
- Incorrect placement
- Improper leveling
- Loose connections
- Skipping vacuuming
- Crowding the outdoor unit
- Ignoring manufacturer instructions
Conclusion
How to install a mini split? Installing a mini split is easy. All you need to collect the right tools before installing.
DIY installation saves money, gives you control over unit placement, and explains your system. Choosing a DELLA Econo or Motto model simplifies the process and ensures reliable performance. You can follow the installation process. It will make things easy for you while installing a mini split.
FAQs
Can I install a mini split myself?
Yes, many mini splits are designed for DIY installation. You must carefully follow instructions and use the correct tools.
How long does installation take?
Typically two to four hours. It depends on room size and experience.
Do I need a vacuum pump?
Yes, it is important. You need to remove air and moisture from refrigerant lines.
Can one outdoor unit serve multiple indoor units?
Yes, multi-zone systems are possible. But the installation is more complex.
How do I maintain my mini split?
Clean the filters frequently. You have to check the connections and keep the outdoor unit free of debris.
Related reading:


LEAVE A COMMENT
All comments are moderated before being published.
This site is protected by hCaptcha and the hCaptcha Privacy Policy and Terms of Service apply.