
Installing a central air conditioning system is one of the most effective ways to keep your home comfortable, but it’s not as simple as just choosing a unit and setting it up. Many homeowners researching how to install central air conditioning quickly realize that proper planning, system selection, and understanding basic HVAC installation steps all play a key role in achieving the best results.
In most cases, central air installation is handled by licensed HVAC professionals, but understanding the process helps homeowners make better decisions about sizing, ductwork, costs, and installation quality.
At the same time, questions about central AC installation cost and how to choose the best central air system for home often come up early in the process. These factors are closely tied to your home’s specific conditions, so taking a closer look at the essentials before installation can help ensure better efficiency, performance, and long-term value.
Key Considerations Before Installation of Central Air Conditioning
A successful central AC installation starts with proper planning. Before installing, homeowners should evaluate system size, cooling needs, ductwork condition, and energy efficiency. Ignoring these factors can lead to poor performance, higher energy costs, and reduced system lifespan.
AC Unit Size Calculation
Choosing the right size is essential. An undersized unit won’t cool effectively, while an oversized system wastes energy and reduces comfort. Proper sizing depends on home size, insulation, and climate.
Home Cooling Load Assessment
A cooling load calculation provides a more accurate estimate of your home’s needs by considering heat from sunlight, appliances, and occupants. This ensures the system runs efficiently in real conditions.
Ductwork Inspection and Efficiency
Efficient ductwork is critical for airflow. Leaks or poor design can cause energy loss and uneven cooling. Repairs or upgrades may be needed before installation.
Energy Efficiency Ratings (SEER)
SEER2 (the updated efficiency rating used in the U.S. today) measures how efficiently a system operates under more realistic conditions. Higher SEER ratings mean lower operating costs and better long-term savings, making them a key factor when choosing a system.

Step-by-Step Guide to Installing a Central Air Conditioning System
Installing a central air conditioning system involves more than simply placing indoor and outdoor units. To achieve reliable performance, energy efficiency, and long term comfort, each step needs to be planned carefully, from choosing the correct system size to testing the unit after installation. Among all these steps, selecting the right central AC size is where the process should begin, because an improperly sized system can affect everything from airflow and temperature control to operating costs over time.
How Do You Know Which AC Unit Is the Right Size for Your Home?
Choosing the right AC size starts with a Manual J load calculation, not square footage alone. Factors like duct condition, ceiling height, insulation, and local climate all affect the actual cooling capacity your home needs.
If the unit is too small, it will struggle to cool efficiently. If it is too large, it may short cycle, waste energy, and leave humidity behind.
As a rough starting point before a Manual J calculation:
- Up to 1,200 sq ft: around 24,000 BTU, or about 2 tons
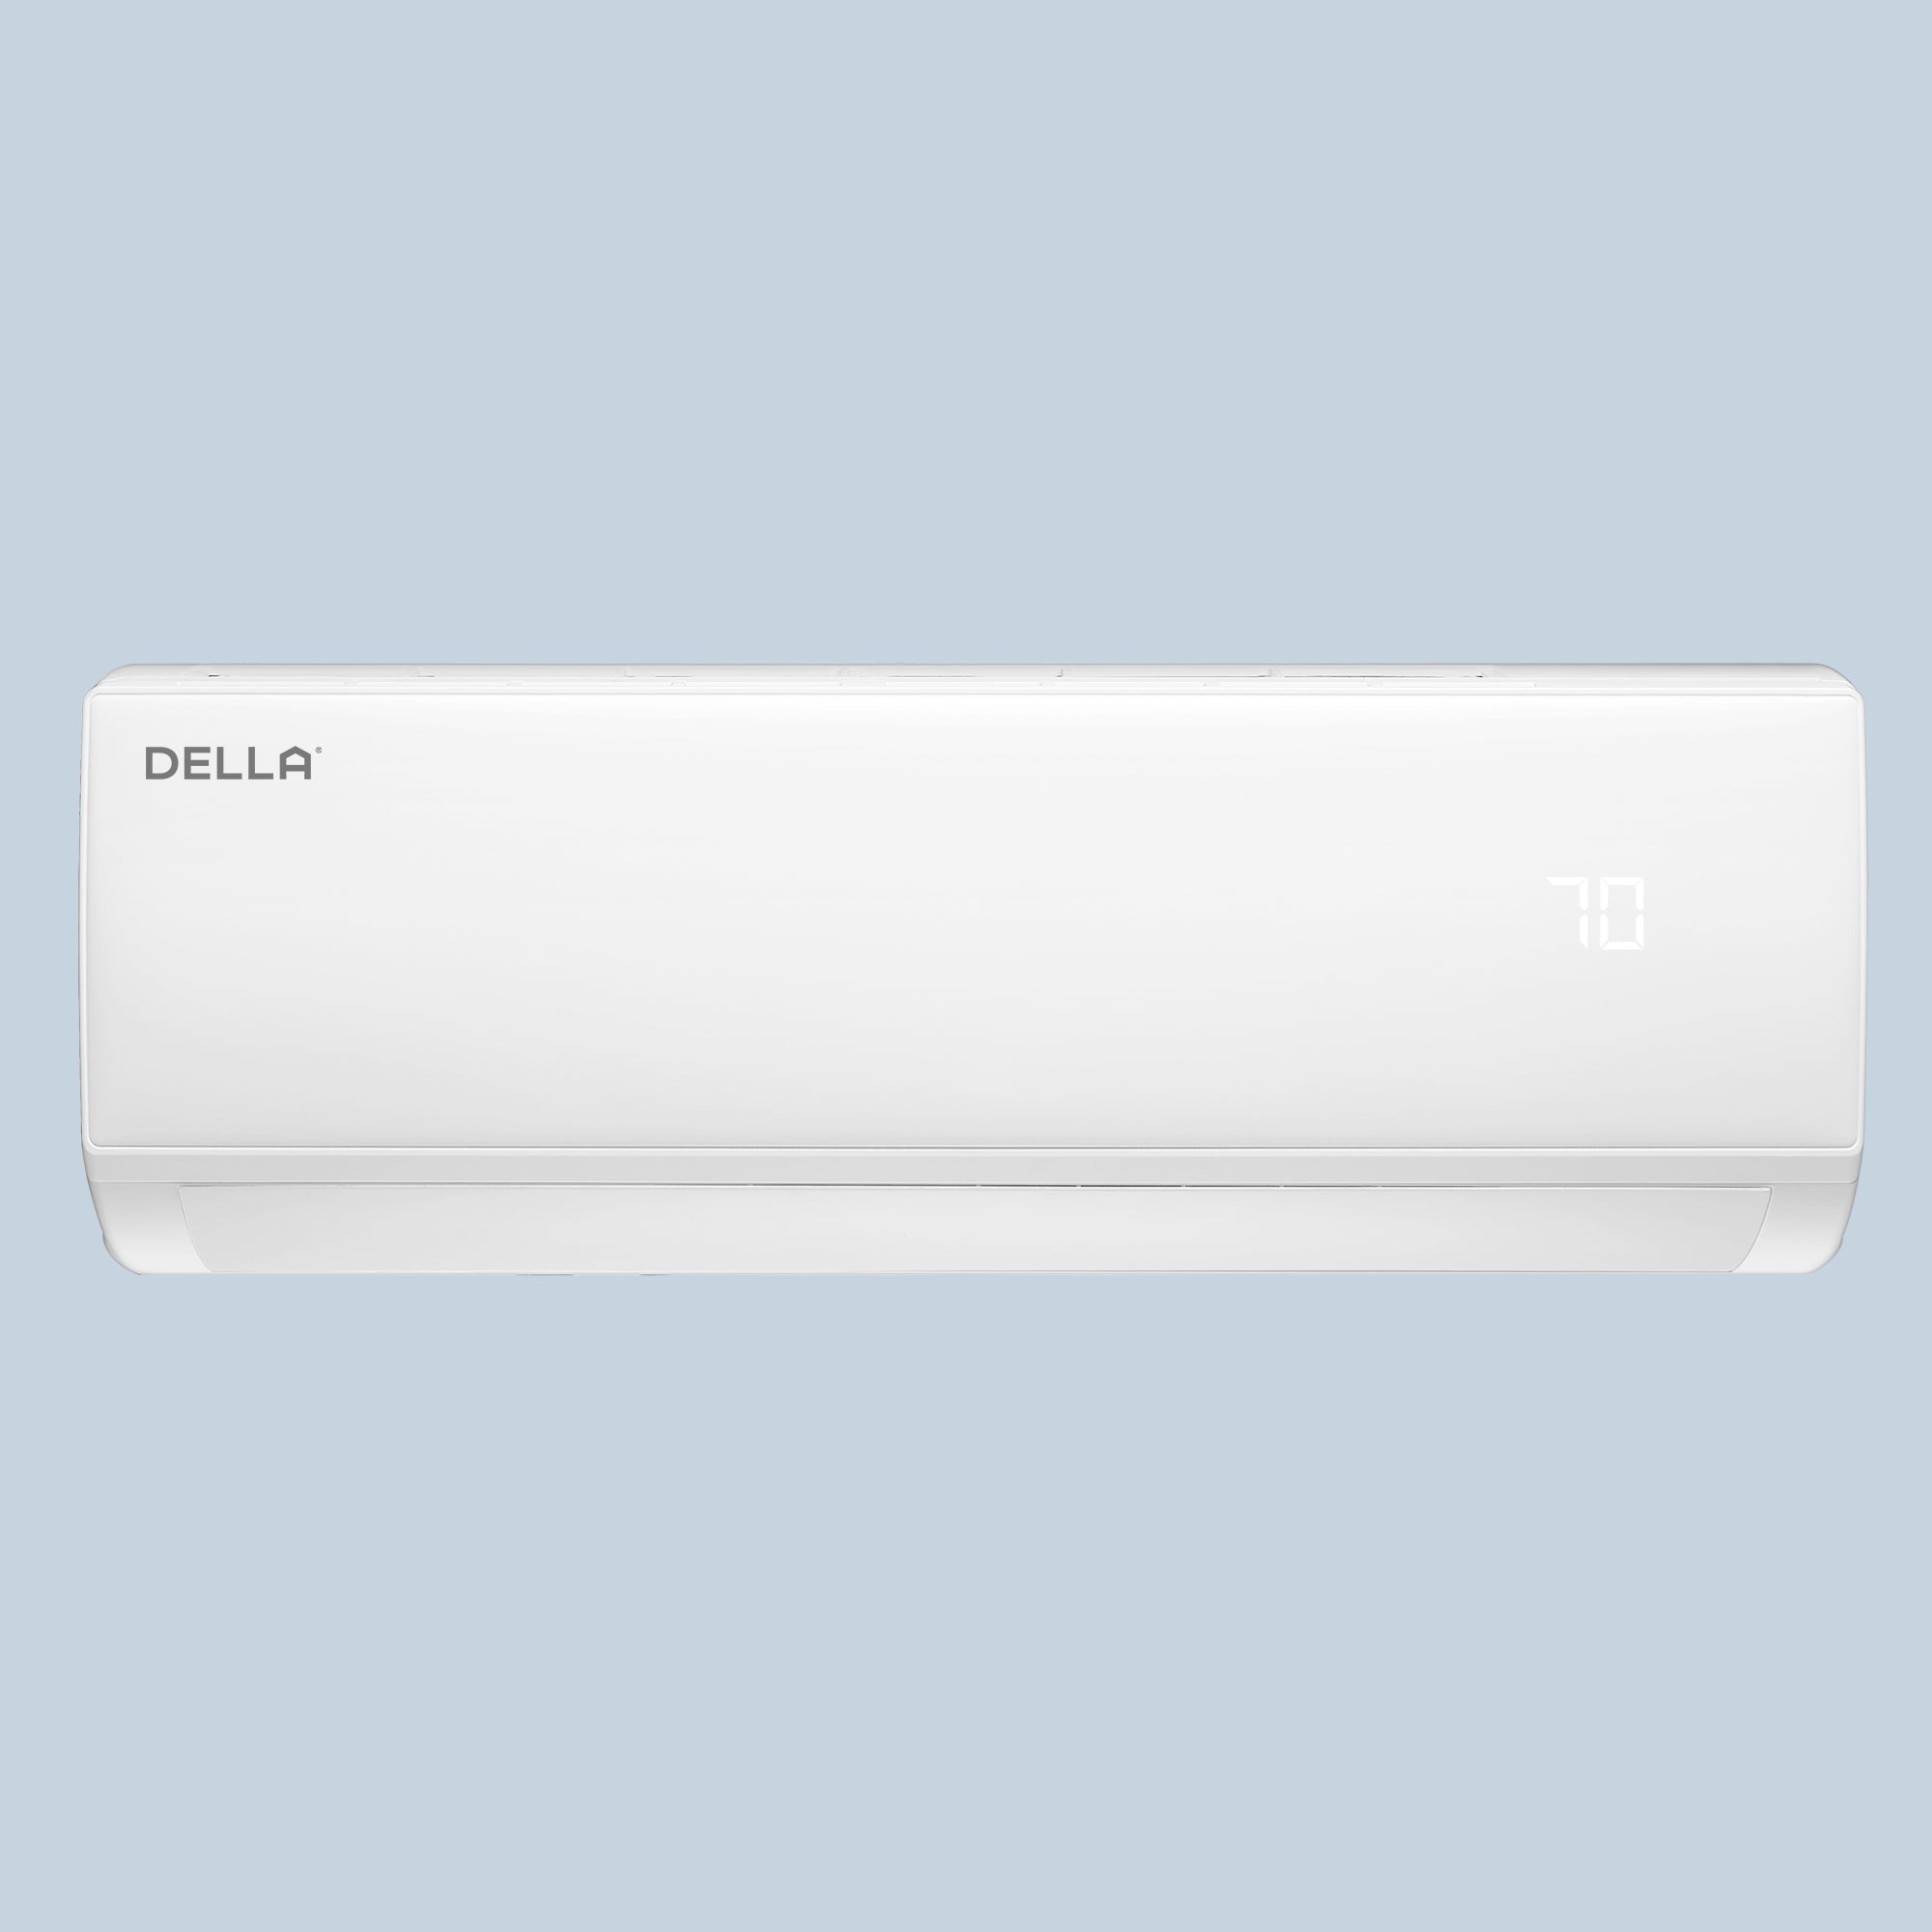
This capacity is generally suitable for smaller homes or tighter layouts. A practical option in this range is the DELLA 24,000 BTU 18 SEER2 Ducted Central Air Conditioner with Air Handler, which provides reliable cooling performance, stable airflow, and solid energy efficiency, making it a well balanced choice for everyday residential use.
- 1,200 to 1,500 sq ft: around 34,000 BTU, or roughly a 3-ton class system depending on the model
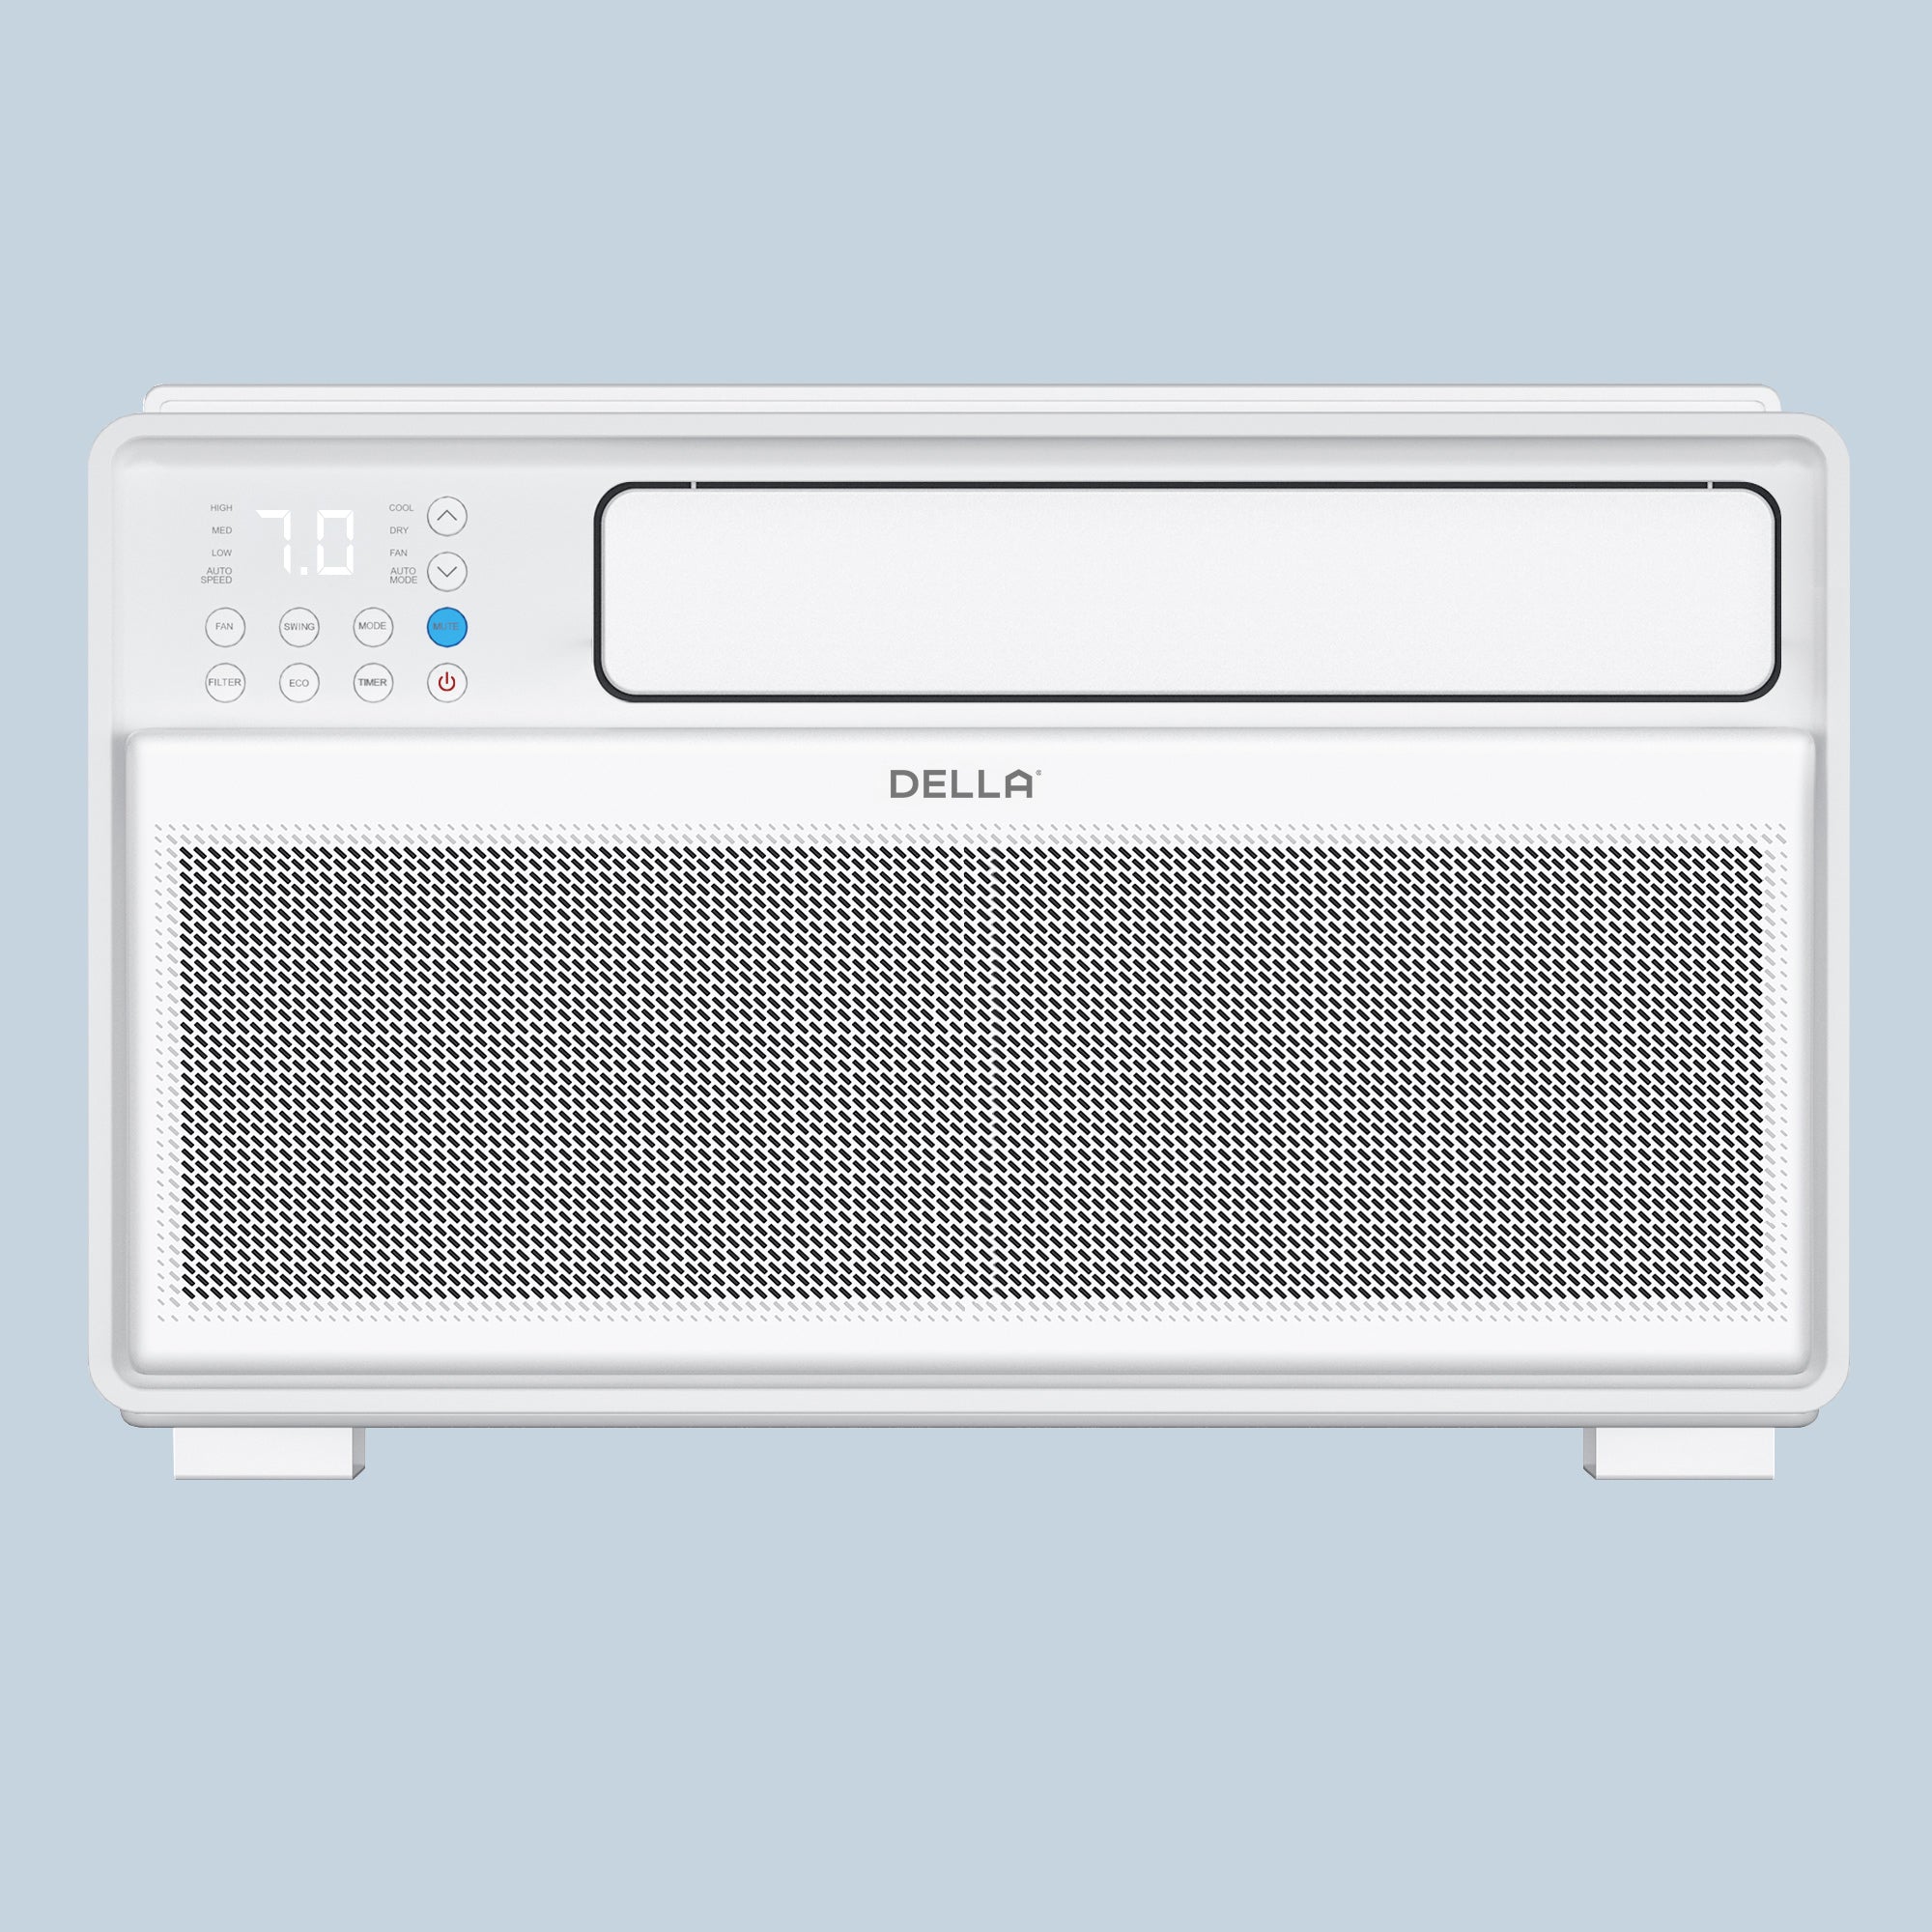
For medium sized homes, a higher capacity helps ensure consistent cooling across multiple rooms. The DELLA 34,000 BTU 19 SEER2 Ducted Central Air Conditioner with Air Handler is designed for this level of demand, offering stronger cooling output, improved efficiency, and more even temperature control throughout the home.
For the best results, match the unit to your home’s specific conditions rather than relying on square footage alone.
Preparing the Duct System
Before installing any equipment, the duct system must be properly inspected and prepared. In short, a well-functioning duct system is essential for efficient airflow and overall performance.
Check for leaks, blockages, or damaged sections, as these can reduce efficiency and increase energy costs. Sealing and insulating the ducts, if necessary, helps ensure that cooled air is delivered evenly throughout the home.
Installing the Outdoor Condenser
The outdoor condenser should be installed on a stable, level surface with adequate clearance on all sides. Proper placement ensures efficient heat exchange and prevents overheating.
It’s also important to position the unit away from direct obstructions like walls or dense vegetation, allowing for good airflow and easier maintenance access.
Installing the Indoor Evaporator Coil
The evaporator coil is typically installed inside the air handler or furnace. The key point is proper alignment and sealing to ensure efficient heat absorption.
Any gaps or improper connections can reduce system performance and lead to air leaks, so careful installation is critical at this stage.
Connecting Refrigerant Lines
Refrigerant lines connect the indoor and outdoor units, enabling heat transfer. The main priority here is ensuring tight, leak-free connections.
These lines should be properly insulated to prevent energy loss and condensation issues, which can affect both efficiency and system lifespan.
Electrical Wiring Setup
Electrical connections must be completed according to local codes and manufacturer specifications. In short, safety and accuracy are non-negotiable.
This includes connecting power to both the indoor and outdoor units, as well as ensuring proper grounding and circuit protection.
Thermostat Installation
The thermostat acts as the control center of the system. For best performance, it should be installed in a central location away from direct sunlight, drafts, or heat sources.
A properly placed and calibrated thermostat ensures accurate temperature control and improved energy efficiency.
Refrigerant Charging
Charging the system with the correct amount of refrigerant is essential for optimal performance. Too much or too little refrigerant can reduce efficiency and damage the system.
This step typically requires specialized tools and should be done according to the manufacturer’s specifications.
System Testing and Adjustment
Once installation is complete, the entire system must be tested and adjusted. In short, this step ensures everything is working as intended.
Check airflow, temperature output, and system cycling. Make any necessary adjustments to optimize performance, ensuring the system runs efficiently and reliably over time.
Common Mistakes to Avoid During Central Air Conditioner Installation
Avoiding common installation mistakes is essential for maintaining system efficiency, comfort, and long term reliability. Even minor issues during setup can lead to uneven cooling, higher energy costs, and premature wear. The following are key problems to watch for.
Improper AC Unit Sizing
Choosing the wrong AC size leads to short cycling, humidity problems, and higher energy bills. An undersized unit will struggle to cool the space, while an oversized system may run inefficiently and fail to maintain stable indoor conditions.
If you are unsure what capacity your home needs, refer to the sizing guide in the section above before purchasing.
Leaky or Poor Ductwork
Leaky or poorly designed ductwork reduces airflow efficiency and leads to uneven cooling. Conditioned air can escape through gaps or poorly sealed joints, making the system work harder than necessary.
Sealing leaks and ensuring proper duct design helps improve airflow, maintain consistent temperatures, and reduce energy loss.
Incorrect Refrigerant Levels
Incorrect refrigerant levels directly affect cooling performance and system efficiency. Too little refrigerant limits cooling capacity, while too much can increase system pressure and cause damage over time.
Proper refrigerant charging according to manufacturer specifications is essential for stable operation and long term reliability.
Faulty Electrical Connections
Faulty electrical connections can cause system instability and safety risks. Loose or incorrect wiring may lead to inconsistent operation, reduced efficiency, or even component failure.
Ensuring all electrical connections are secure and meet local codes is critical for safe and reliable performance.
Incomplete System Testing
Incomplete system testing can leave performance issues undetected after installation. Without proper checks, problems such as poor airflow, incorrect settings, or inefficient operation may persist.
A full system test helps confirm that all components are working correctly and the system is operating at its intended efficiency.

DIY vs Professional Installation: Which Is Better?
Professional installation is generally the better choice for most homeowners because it ensures safety, proper setup, and long term performance. While DIY installation may seem more affordable upfront, the complexity of HVAC systems often makes professional service the more reliable option.
DIY Installation Requirements
DIY installation requires advanced technical knowledge, specialized tools, and a clear understanding of electrical systems, refrigerant handling, and ductwork. Without proper experience, errors can lead to reduced efficiency, system damage, or safety risks.
Professional Installation Benefits
Professional installation ensures the system is installed correctly and optimized for performance. Trained technicians handle setup, airflow balancing, and refrigerant charging, which helps improve efficiency, reliability, and overall system lifespan.
Safety and Compliance Factors
Safety and code compliance are critical in AC installation, as improper work can lead to electrical hazards, refrigerant leaks, or ventilation issues. Professional installers follow local regulations and industry standards to ensure safe and compliant operation.
Cost and Performance Comparison
While DIY installation may lower initial costs, it often results in higher long term expenses due to inefficiency, repairs, or premature system wear. Professional installation delivers better performance and energy efficiency, making it a more cost effective solution over time.
How Much Does It Cost to Install a Central Air Conditioning System?
The cost to install a central air conditioning system typically ranges from $6,000 to $15,000, depending on system size, efficiency rating, labor, and installation complexity. Homes with larger layouts or higher efficiency requirements may fall on the higher end of this range.
Average Installation Costs
Most homeowners pay between $6,000 and $10,000 for a standard central AC installation, including both equipment and labor. Costs increase with larger capacity systems, higher SEER2 ratings, or additional upgrades such as electrical work or permits.
Cost with Existing Ductwork
If your home already has ductwork, installation is more straightforward and cost effective. Adding new ductwork typically costs $2,000 to $10,000, so using existing ducts can significantly reduce the total price, although sealing or minor repairs may still be needed for optimal performance.
Long Term Energy Savings
Higher efficiency systems come with a higher upfront cost but can reduce energy use by 20 percent to 50 percent over time. This not only lowers monthly utility bills but also improves overall system performance, helping offset the initial investment in the long run.
Maintenance Tips After Installing a Central AC System
Regular maintenance is essential to keep your central air conditioning system running efficiently and to extend its lifespan. Simple routine care can prevent performance issues, reduce energy costs, and help avoid unexpected repairs.
Air Filter Maintenance
Keeping the air filter clean is one of the most important maintenance tasks. A clogged filter restricts airflow, reduces efficiency, and can strain the system, so it should be checked regularly and replaced every one to three months depending on usage.
Seasonal HVAC Inspection
Scheduling a professional inspection at least once a year helps identify potential issues early. Seasonal checkups ensure that components such as refrigerant levels, electrical connections, and airflow are functioning properly before peak cooling periods.
Coil Cleaning and Maintenance
Clean coils are essential for efficient heat transfer and system performance. Dirt buildup on the evaporator or condenser coils can reduce cooling capacity and increase energy consumption, so periodic cleaning helps maintain optimal operation.
System Performance Optimization
Monitoring system performance helps ensure consistent comfort and efficiency. Adjusting thermostat settings, sealing ducts, and addressing minor issues early can improve airflow, maintain stable temperatures, and prevent long term wear.
What If Your House Has No Ductwork?
Installing central air without existing ductwork is still possible, but it requires either adding new ducts or choosing an alternative system. The right option depends on your home layout, budget, and long term efficiency goals.
Can you put central air in a house without ductwork?
Yes, you can install central air in a house without ductwork, but it requires additional work. This usually involves installing a full duct system throughout the home, which can be complex depending on the structure, or selecting a ductless solution that avoids major modifications.
Run New Ductwork vs. Go Ductless: Which One to Choose?
Installing new ductwork is a better option if you want a traditional central air system with whole home coverage and a clean, hidden setup. A ductless mini split system is often more practical for older homes, additions, finished attics, garages, or spaces where adding ducts is difficult, offering easier installation and flexible zoning with less disruption. For many homeowners comparing central air vs. ductless mini split, the deciding factors usually come down to retrofit cost, installation disruption, and whether whole home cooling is necessary.
How much does it cost to install central air without ductwork?
Installing central air without existing ducts typically costs $8,000 to $20,000 or more, since adding ductwork alone can range from $2,000 to $10,000 depending on home size and complexity. Ductless systems can cost $3,000 to $10,000 per zone, making them a more flexible option but potentially more expensive for full home coverage.
FAQ
Can I install central air myself?
Central air installation is generally not a practical DIY project for most homeowners, as it involves electrical work, refrigerant handling, and code compliance.
How long does central air installation take?
Central air installation typically takes 1 to 3 days. Projects with existing ductwork are faster, while adding new ducts or upgrades may take longer.
Conclusion
Installing a central air conditioning system requires careful planning, from choosing the right size to ensuring proper installation and maintenance. While costs and installation methods may vary, focusing on correct sizing, quality installation, and regular upkeep will help maximize efficiency and long term performance.
For the best results, take time to evaluate your home’s needs and choose a system that delivers reliable cooling, energy efficiency, and consistent comfort over time.


LEAVE A COMMENT
All comments are moderated before being published.
This site is protected by hCaptcha and the hCaptcha Privacy Policy and Terms of Service apply.