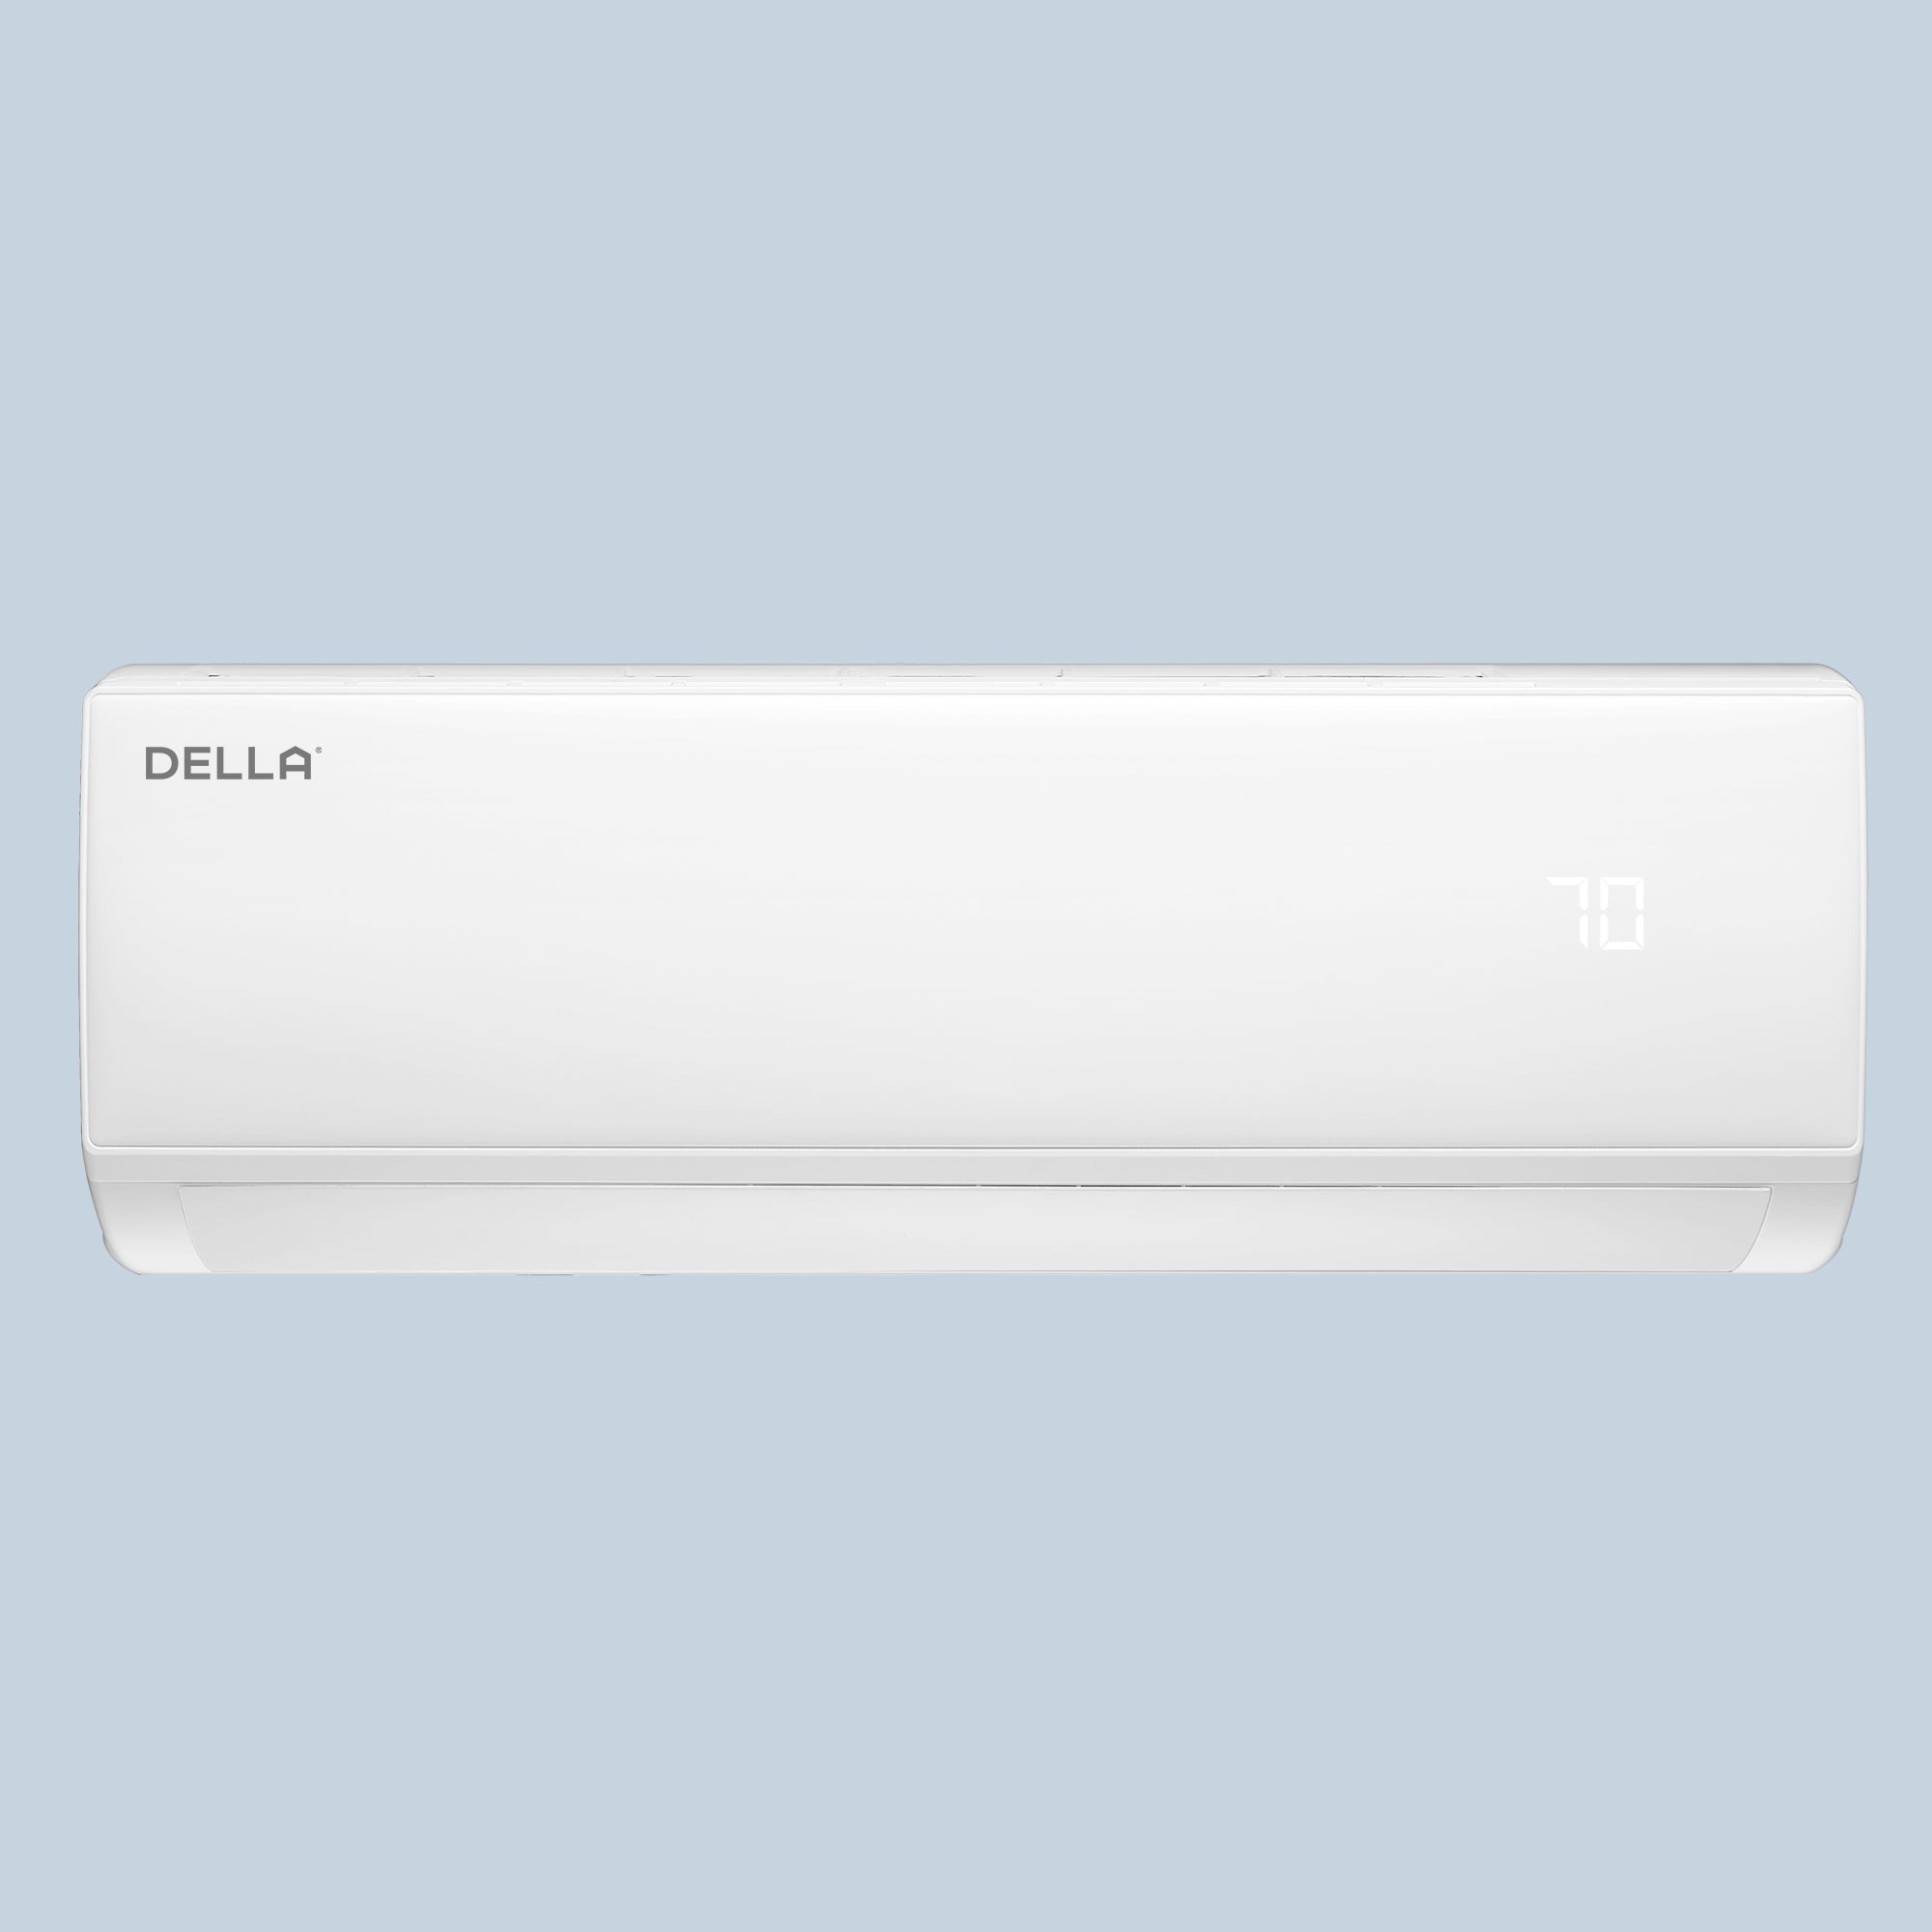
Are you having another hot and sweaty summer? Then, you need a mini split air conditioner.
One of the best ways to achieve quiet and efficient cooling is with a mini split AC. This guide explains, step by step, what you need to know about every part of a mini split installation , whether you plan to do it yourself or simply want to get familiar with the process.
We’ll briefly cover everything from the fabrication instructions to quick tips in this guide to make your mini split air conditioner installation easy and stress-free.

5 Things You Need to Know Before Installation
Installation Location Is Crucial
Before you start your mini split installation, find the right spot for the indoor unit in your home. The proper placement of the indoor AC unit provides maximum airflow, ensures the unit's cooling performance, and saves the most energy.
AC indoor units should be mounted on solid walls above the level of curtains, furniture, or shelves, keeping them clear from direct sunlight.
It’s also important that the unit’s location is simple to clean and service. Do not put the unit near doorways or places where dust tends to collect in large amounts.
Other mini split installation tips include making sure that the indoor unit is not installed in a place where it will directly blow on people or fragile objects. Also, test and make sure an remote controls are able to control your AC.

Proper Handling of Refrigerant Pipes
Refrigerant pipes connect your indoor area to the outdoor unit, allowing heat to be properly transferred. Any damage to the copper pipes may affect the movement of the refrigerant.
Ensure the pipes are straight and seal the ends with tape to prevent dust, air, and moisture from entering.
Select a length and size for the pipe as recommended by the manufacturer. If the lines are not the right length, they can decrease the efficiency of transaction handling.
Whenever possible, fit insulation sleeves on your pipes to prevent condensation and enhance the effectiveness of your AC.
Pipeline Components Must Be Properly Bundled
A clean installation isn’t just about looks. It also ensures functionality and safety. Bends and pressure points that could cause problems can be avoided. Proper pipelines also guarantee that rooms are safe for users.
Use vinyl tape or protective conduit to neatly tie the copper pipe, electrical wires, and drain hose together. As a result, the wires are kept separate, and there is less risk of anything happening to the circuits.
When all these factors are correct, the process becomes easier, and more manageable in the long run.
Vacuum the Refrigerant Circuit
Before adding refrigerant to the system, it’s crucial to remove air and moisture from the refrigerant circuit using a vacuum pump. Failing to do so can cause the formation of acids due to trapped moisture and air, which can severely damage the system over time.
Excessive moisture in the system can affect cooling performance and may even cause ice to form on critical components.
Take your time during this step. Once the vacuum pump is running, allow it to run for a minimum of 15–20 minutes to ensure proper evacuation. After that, turn off the pump and wait for about 2–3 minutes. Then, check the pressure reading. If it remains stable, this indicates that the system is sealed properly and ready for refrigerant charging.
Safe Electrical Connection
Direct electrical wiring and correct grounding are required for split AC units. Never start wiring until you have switched off the main power supply. Use only a designated breaker or fuse box to prevent the system from getting overloaded.
Follow the AC manual's color-coding for wire connections. Ensures every screw in the terminal area is secure and checks your connections twice. Incorrect wiring can end in short circuits, fires, or damaged electronics.
For safety reasons, it's recommended that an electrician look at touching the electrical wiring in your car.
8 Steps to Teach You How to Easily Install a Split Air Conditioner
1. Choose a Suitable Installation Location
As mentioned earlier, selecting a suitable location is crucial for both indoor and outdoor units. For the indoor unit, the wall should be strong enough to hold the weight. Make sure it’s at least 7 to 8 feet above the floor for optimal airflow.
The outdoor unit should be in an open area that allows for heat dissipation. Avoid closed spaces or areas exposed to rain or direct sunlight. Use a concrete base or a metal frame with rubber pads to minimize vibration and noise.
2. Install the Hanging Plate and Punch Holes
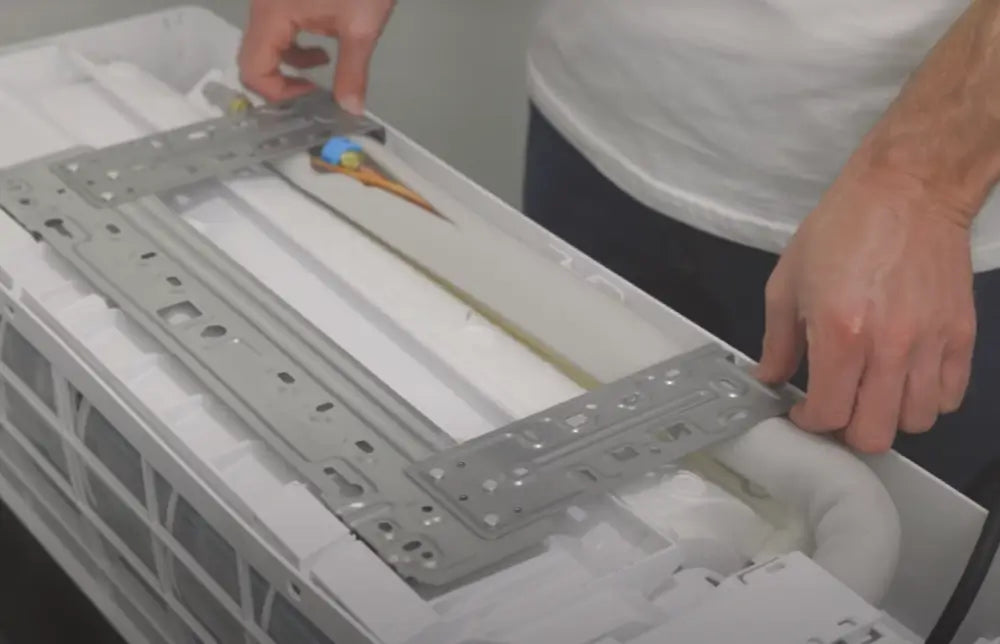
Use the hanging or mounting plate provided with the mini split. Position it on the wall using a level to ensure it's even. Mark the drill points and secure the plate with strong wall anchors.
The next step is to make a hole in the wall that links the outdoor unit to the indoor one. Set the bottom of the hole so that water will drain properly. Check that the space can hold bundled pipes, wires, and hoses.
3. Lay the Refrigerant Copper Pipe, Cable, and Drain Pipe
Fit the indoor unit onto the bracket, ensuring the hooks catch it, and then lower it downward until it snaps into place. Join the refrigerant lines, electrical cables, and drain pipe to the indoor areas they are meant for.
Tighten the connections between the refrigerant lines with a torque wrench to keep them from leaking. Drain the pipe by guiding it to go down gently. Once everything is secure, gently push the bundled line set through the hole in the wall.

4. Indoor Unit Connection
Fit the indoor unit onto the bracket, ensuring the hooks catch it, and then lower it downward until it snaps into place. Join the refrigerant lines, electrical cables, and drain pipe to the indoor areas they are meant for.
Tighten the connections between the refrigerant lines with a torque wrench to keep them from leaking. Drain the pipe by guiding it to go down gently. Once everything is secure, gently push the bundled line set through the hole in the wall.
5. Outdoor Unit Installation and Connection
Set the outdoor unit on a stable base, such as a concrete slab or an anti-vibration bracket. Put the unit about 12 inches above the ground and leave at least 12 inches around it in all directions.
Connect the refrigerant pipes from the indoor to the outdoor units. Tighten the flare nuts and insulate the connections. Set up the electrical components according to the instructions you are given.

6. Vacuum and Leak Detection
Connect a manifold gauge and vacuum pump to the service port on the outdoor unit. Switch on the vacuum pump and have it run for 15 minutes. It removes air and moisture from the system.
After shutting off the pump, watch the pressure gauge. If the pressure holds steady, your system is sealed. Use soapy water to check for leaks around the flare connections.
7. Power On and Test Run
Turn on the circuit breaker and power up the unit. Use the remote control to start the system. Select the cooling mode and lower the temperature setting to a level below the room temperature. Allow the water disposal process to go on for about 10 to 15 minutes.
Check that cold air is flowing evenly and quietly. Make sure the outdoor unit fan is running and the drain pipe is releasing water. Listen for unusual noises or vibrations.
8. Completion Inspection and Finishing
Once testing is successful, seal the wall hole with putty or weather-resistant foam. Tidy up wires and secure any exposed piping. Clean the area and store the manual for future reference.
Carefully check all the screws, terminals, and pipes you have joined once again. Test for any gaps where outside air might enter, for unusual vibrations, and for any obstructed airflow.
Common Installation Issues
Do Split Air Conditioners Require Holes in the Wall?
Yes, routing the refrigerant pipes, electricity lines, and drainage hose between the indoor and outdoor units calls for making a hole. The hole should be 2.5 to 3 inches wide and slant slightly downward to prevent clogging.
Sealing the hole closes any gaps and post-installation issues. Apply foam sealant or putty to prevent air, bugs, or moisture from coming into your room from outside.
Do I Need a Split Air Conditioner in Every Room?
Not always. If you have a small apartment or house, a mini split AC with multiple indoor units allows you to cool multiple rooms. On the other hand, larger homes and buildings work best with individual controls in the most frequently used areas.
For a small area, a small window AC could better suit your needs. It is small, affordable, and can be set up with little effort.
Can I Install a Split Air Conditioner Myself?
DIYers can install units and drill holes, but working with refrigerants and wiring requires professional training. If you are not careful, you could suffer damage, leaks, or an injury.
You could still save money by doing the preparation work (hooking up, drilling) yourself and paying a professional to do the rest.
What Are the Places That Are Not Suitable for Installing Air Conditioners?
Do not work in locations that are overly hot, dusty, or damp. Don’t set up your AC near your kitchen stove, oven or laundry dryer. These heat sources put more stress on the unit, making it work less efficiently.
Place the outdoor unit in an area with sufficient space and room to breathe. A lack of airflow to the compressor can cause it to overheat. Do not stay on balconies that do not have ventilation or are not protected from rainfall.
When Should the Air Conditioner Be Turned On After Installation?
Once vacuuming, leak-testing, and setting up the connections are finished, you may turn the system on immediately. A mechanic won’t need to wait hours as long as the system is sealed and charged properly.
Still, after finishing your work, give the pipes a short break of about 30 minutes before running the unit.
Small Room Cooling Options
While a mini split is a semi-permanent AC option for nearly any space, there are ACs that are easier to set up and are practically plug-and-play.
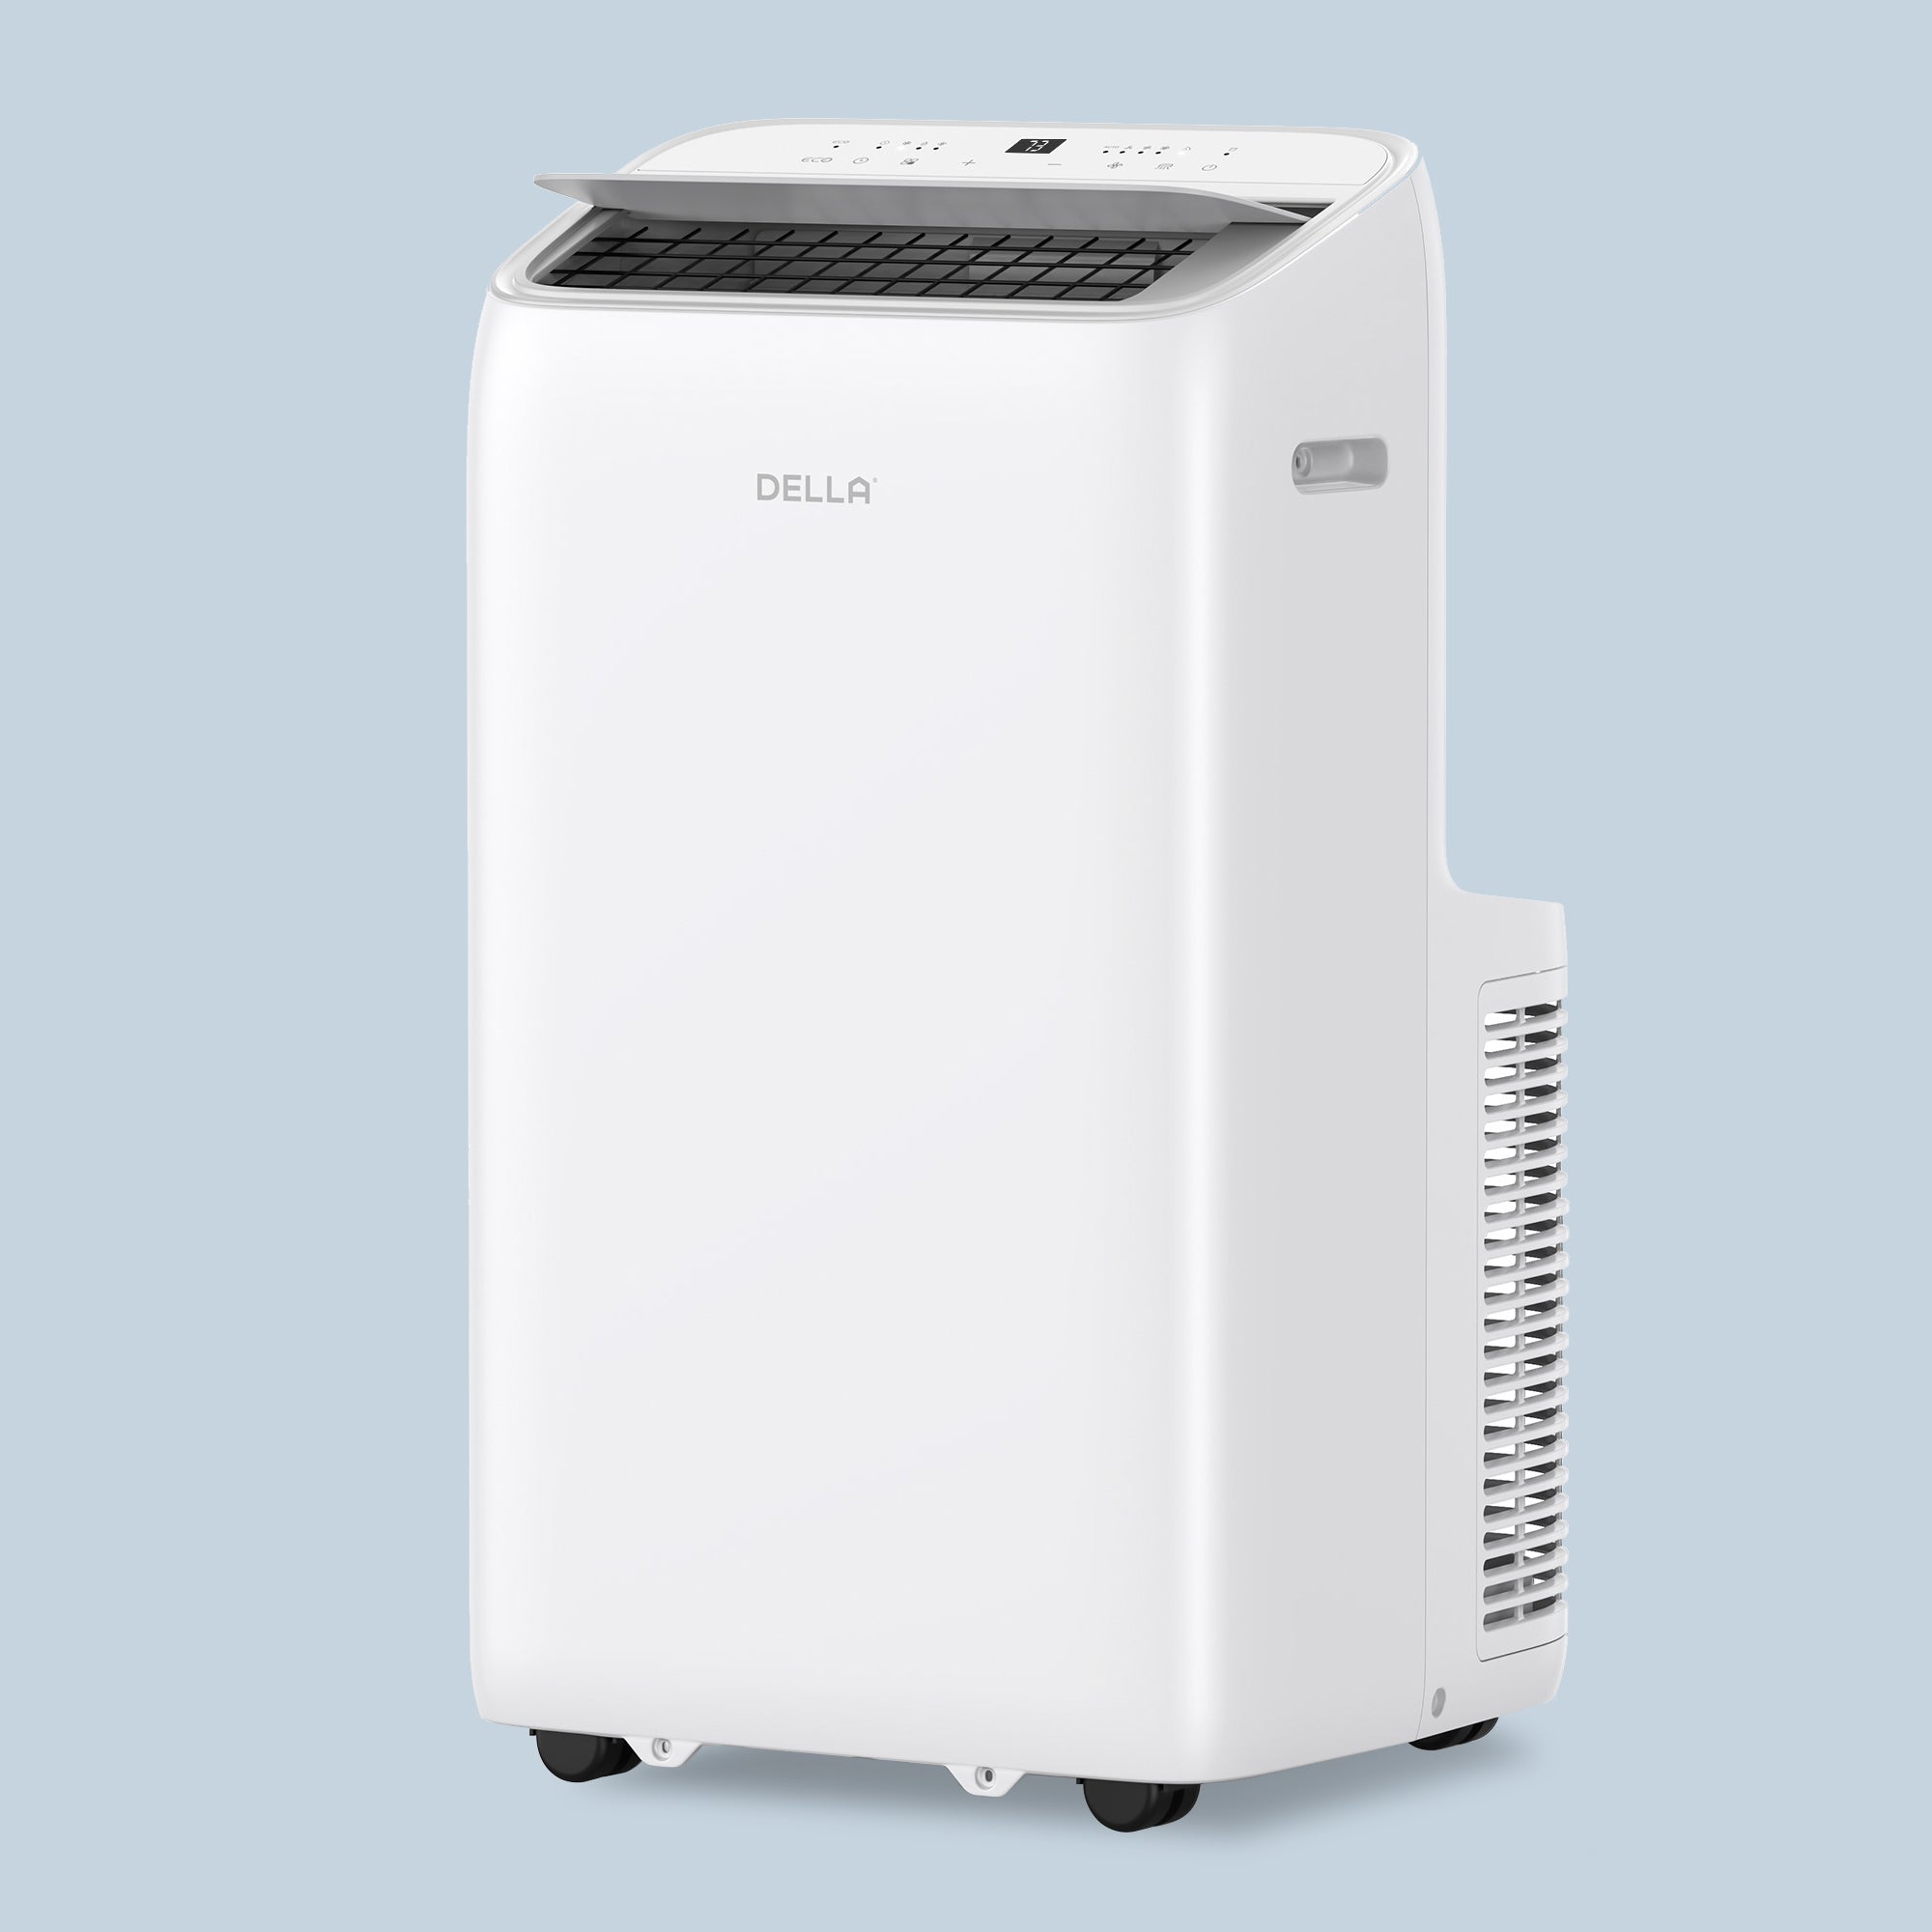
For example, a Portable Air Conditioner, is a great choice for renters or those requiring a solution for a short time. And most everybody finds portable units simple to set up, since all they need is a window kit and some ventilation.
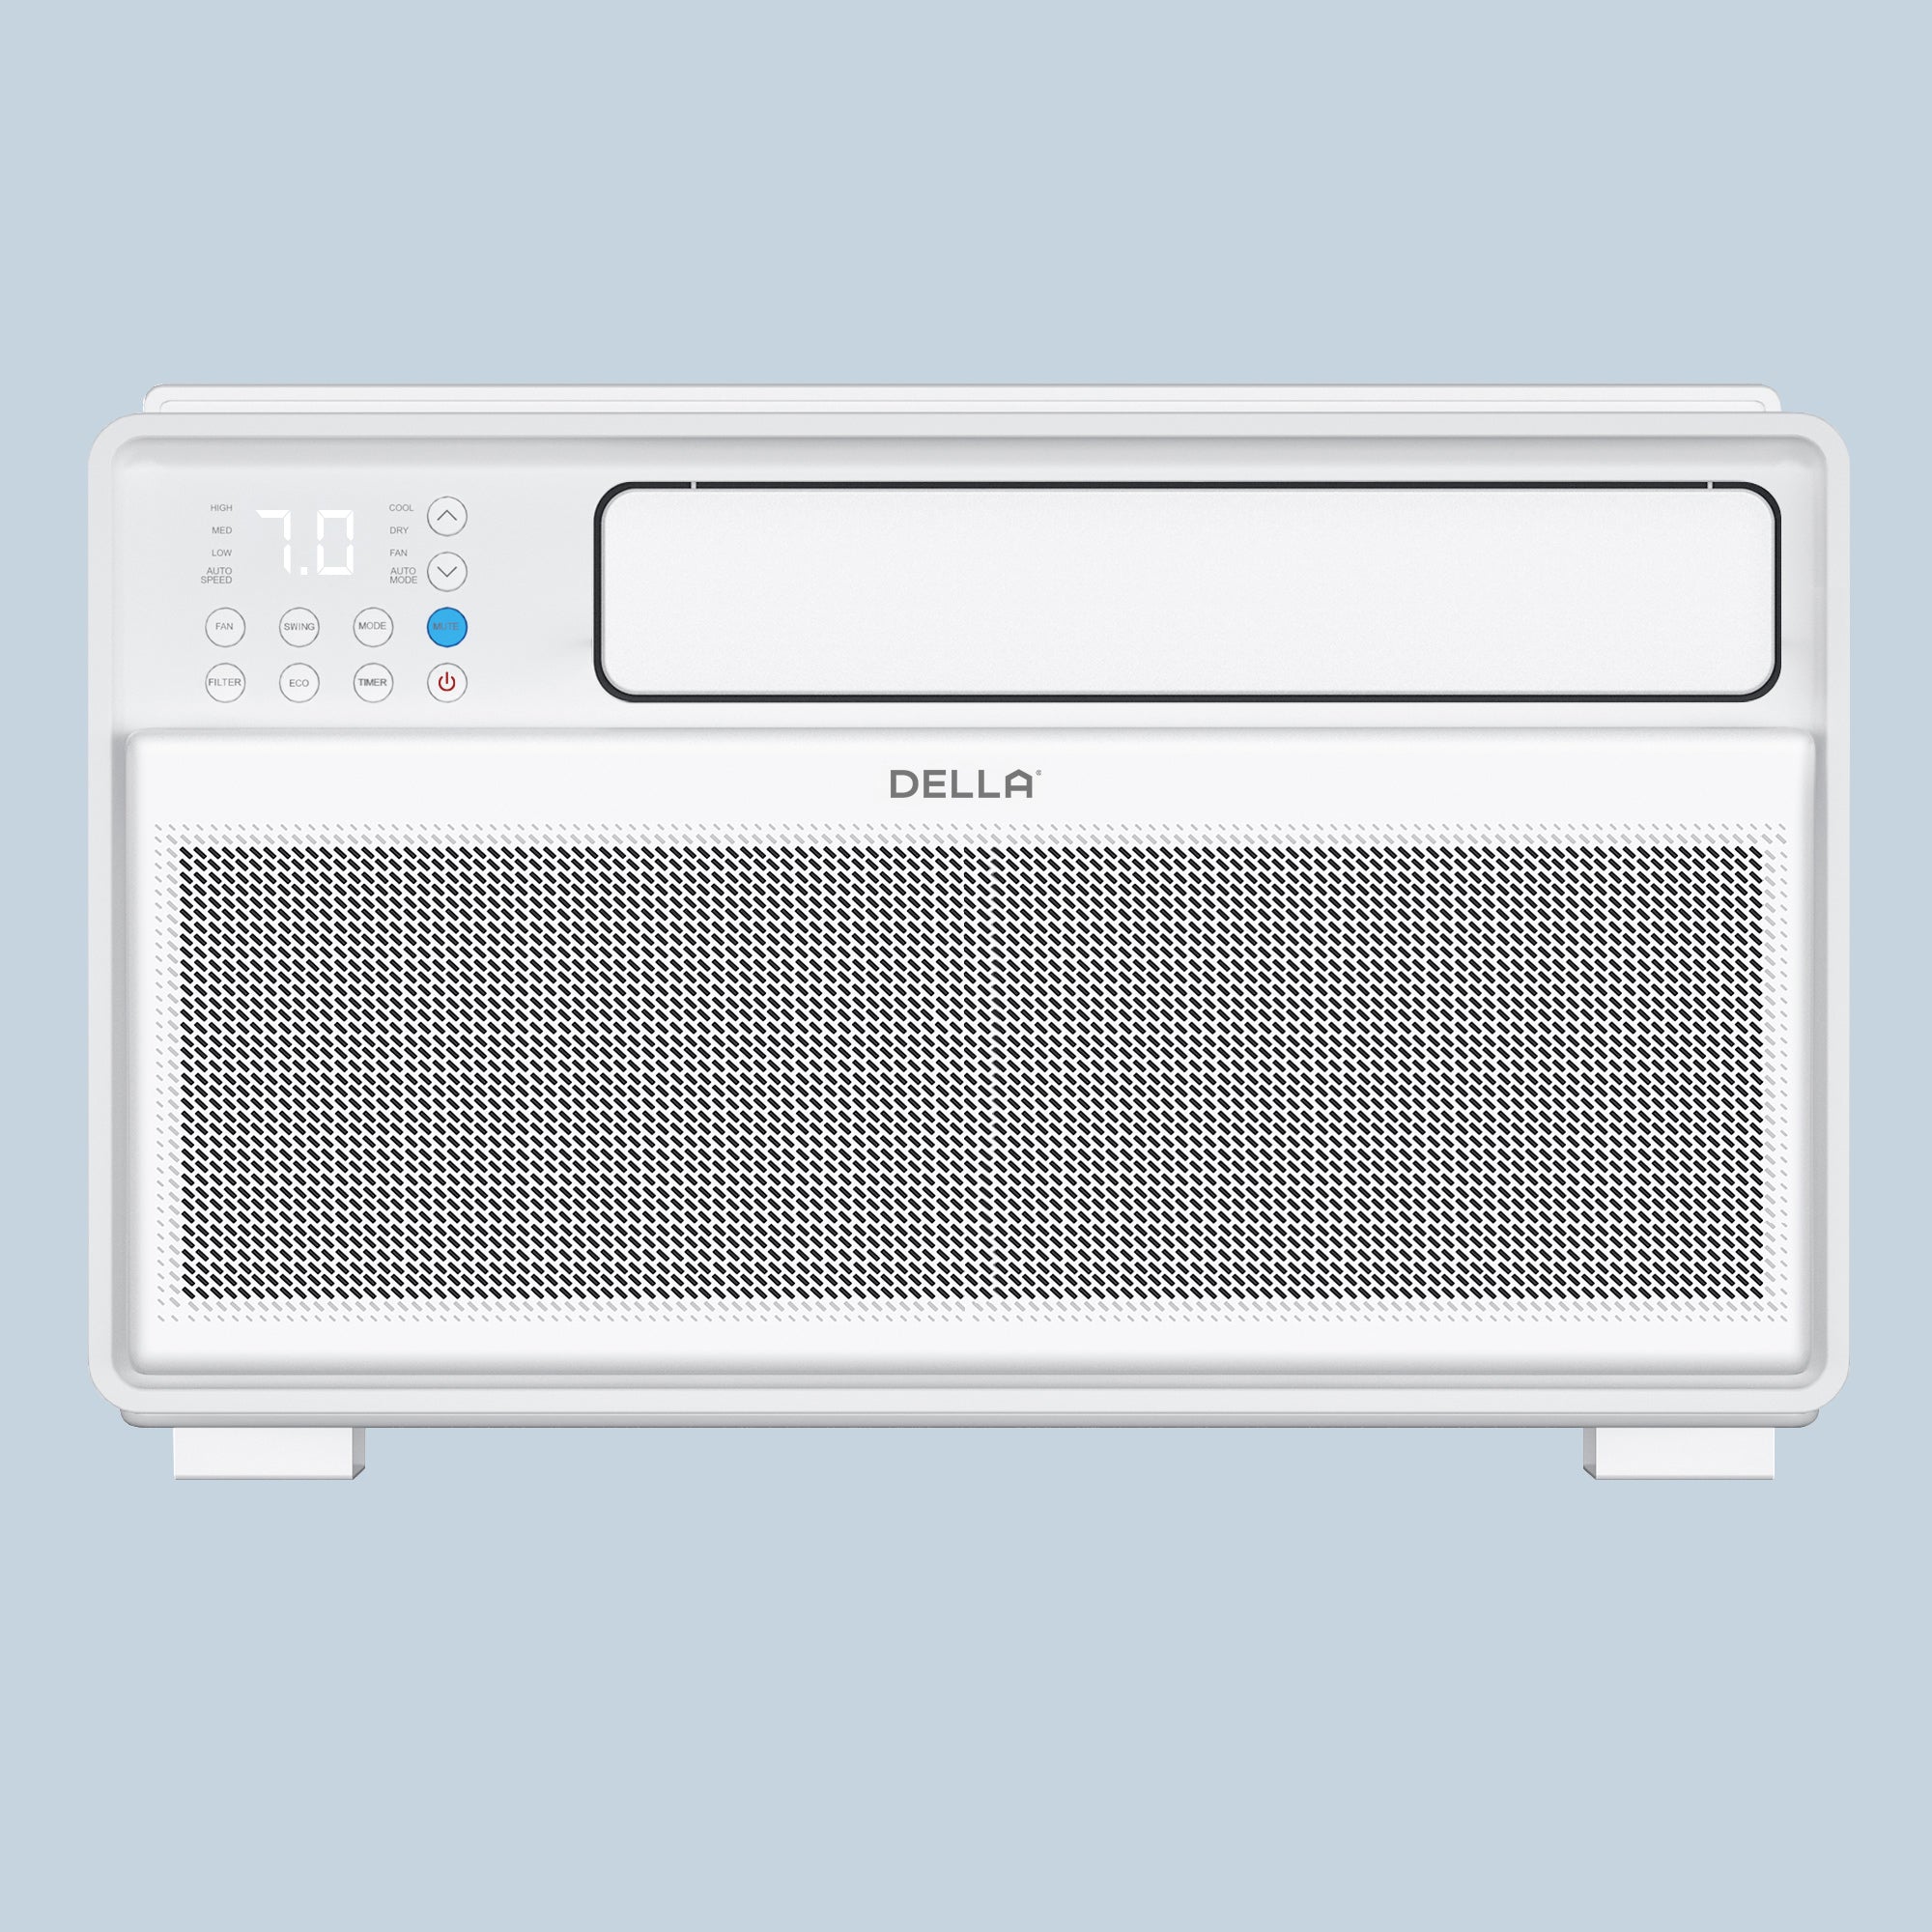
If you want to make just one room, such as a bedroom, home office, or nursery, comfier, using a small window AC is an excellent idea. They cost little, are compact, and both DIY installation and professional installation are possible.
Insert the A/C right into the window opening, attach it to the frame so it doesn't fall out, and plug it in. No refrigerant handling, drilling, or wall alterations needed. Della produces small heaters that are quiet, have remote controls, and include timers.
The Portable Air Conditioner is another smart alternative. All you need to do is relocate these units from room to room and vent through a window with the basic kit. Ideal for people who don't require permanent installation, such as renters or those living in dormitories.
Conclusion
Although splitting an air conditioner installation may look tough, following the correct steps makes it less complicated. The quality of your AC's installation at every step determines how well it will function.
How To Fit A Window Air Conditioner
How Does A Mini Split Air Conditioner Work


LEAVE A COMMENT
All comments are moderated before being published.
This site is protected by hCaptcha and the hCaptcha Privacy Policy and Terms of Service apply.